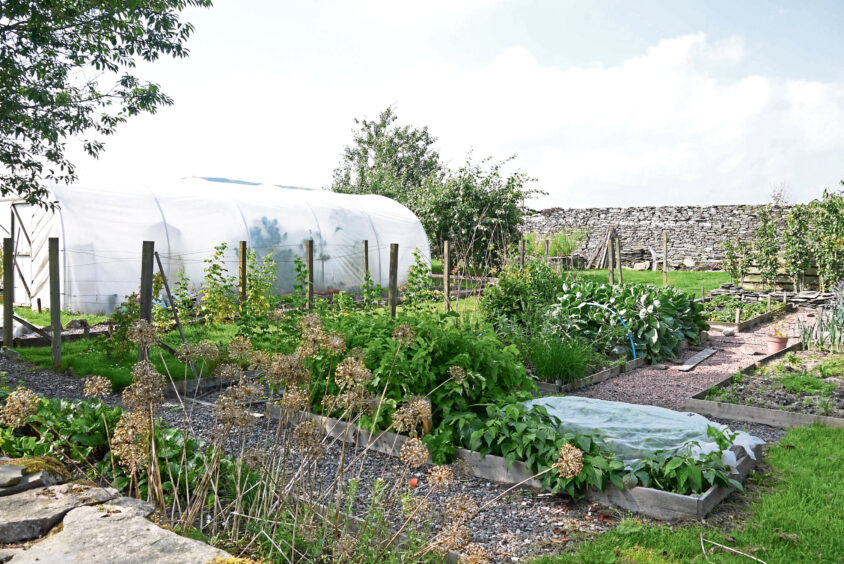
The main focus of my work out in the garden this week has been in the kitchen garden. You may have also heard this part of the garden being referred to as a potager.
It is also known for us in Scotland as the kailyaird – but for the majority of us, we simply know it as our vegetable plot.
I like to grow my veg using the no-dig system, which is pretty much what it says. The traditional method of growing veg would see us digging in composts and manures to feed the soil at this time of year.
“No dig” method
But with the ‘no-dig’ method we just add a layer of mulch around 7cm thick on to the surface of our growing beds. No digging required.
This in turn encourages worm activity as they come to the surface and draw this fresh material down to where it matters at the plant roots, creating aeration channels in the process and improving the overall structure of our soil.
I’m not doing this because I’m getting lazier in my old age – far from it, I get a lot of satisfaction seeing a completed veg plot dug over, the soil nice and level ready for the winter frosts to break up any lumps.
Extending the veg plot
I think us gardeners are now in a place where we better understand what life lies beneath the soil surface, which is beneficial to us growing strong and healthy crops.
Back in spring I even managed to extend my veg plot by converting a part of my lawn, doing so without having to do any digging.
There are two ways to do this. The first is to create a four-sided frame, which is put straight on top of the lawn. The second, like I did, is marking out a plot 5m/ 16ft long by 1.2m/ 4ft wide, digging out a strip of turf on the inside of this edge, which is then put back turned upside down, then laying a little cardboard around the edge to block out the sunlight and prevent the grass from growing back through.
Home-made compost
In both cases you’re then ready to pour the growing mix out of the wheelbarrow to a thickness of 15cm/ 6in. It’s worked a treat and I’ve been really happy with the quality of crops I’ve grown.
Of course this was fresh, healthy, virgin soil the plants were growing in so really this should have been the least I’d expected – a mix made up from leaf mould, well-rotted manure bought in bags and my own home-made compost from garden waste.
It will be interesting to see how the plants grow in these subsequent years now that nutrients have been taken out of the soil. The fresh, top dressing that can be applied either now or in spring on the surface will help replace those lost nutrients and have the soil raring to go again next spring.
Plant leaves for compost
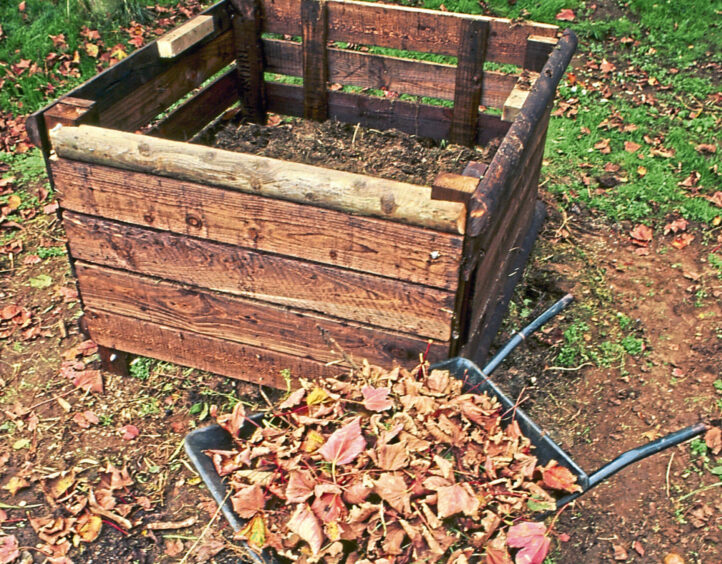
If there’s ever a good time in the garden year to start making your own compost, then it’s now with all the suitable material currently available.
As I’m tidying the veg plot, all the spent foliage from the likes of marigolds, sweetcorn and other old crops are perfect for the heap, along with all that from herbaceous plants growing elsewhere in my garden.
The abundance of tree leaves on the ground at the moment feels like an endless supply. Grab as many as you can for making leaf mould compost, especially if you are near any beech or oak trees, which decompose to make the best compost.
Environmentally-friendly
With regular turning – say, once a – it’s possible to make usable compost within a year, helping to reduce our reliance on shop bought bags of compost.
This is going to be a big issue for us gardeners in the coming years with the phasing out of peat, a main ingredient in many compost bags today. The alternatives are not exactly any more environmentally-friendly, either.
I’ve not had a very good apple crop this year, which seems to have been a sentiment shared by quite a few people I’ve talked to in my area. I’m putting this down to the cold, grey weather conditions that we had back in May, which weren’t exactly encouraging for any pollinator insects that would normally be around at that time of year.
Scarce fruit crops
With no sign of flowers or foliage near the end of May, I recall being concerned that my fruit trees were going to come back to life at all after the spell of -18C temperatures we had last winter.
What crop I do have I’ll appreciate all the more. You can’t beat biting into an apple freshly picked from the tree. To know if an apple is ready for picking, gently cup one in your hand and give no more than a quarter turn. If it’s ready it will come off with ease.
Any fruit that has fallen to the ground are still good but may have been bruised in the process. For this reason they won’t keep in storage but will be perfect for tucking into right away.


