I can understand why not every gardener has the desire to do their own composting at home, despite the sound reasoning.
I guess there’s a presumption that creating a heap of garden waste is dirty, smelly and untidy looking, especially when you don’t really need to bother.
It’s so convenient just to put everything in the local authority green-waste bins.
The case for compost
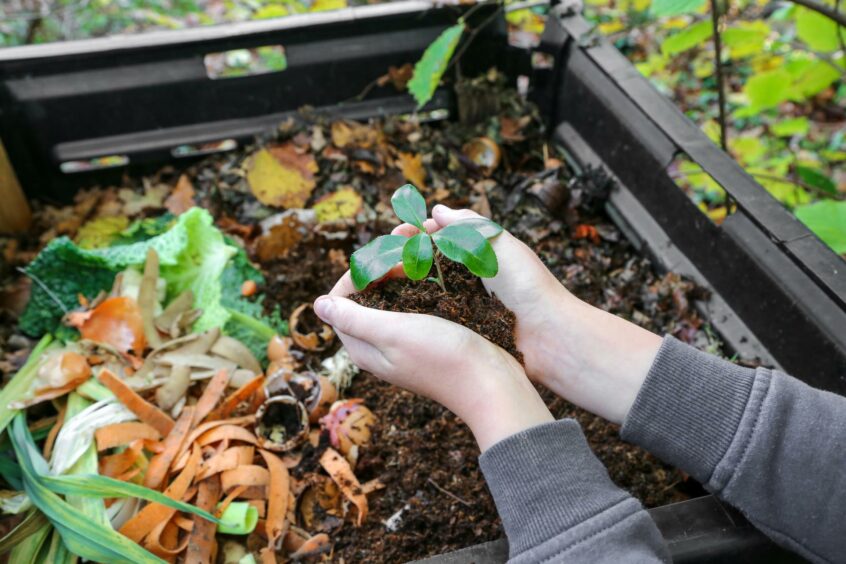
It’s not going to surprise you that I’m making the case for making your own garden compost as I find it one of the most satisfying things we gardeners can do.
My composting area consists of five old pallets I was able to acquire from local businesses. They are placed on the shaded north side of my wee 6ft by 8ft glasshouse.
I have them standing on their edge and nailed together so to create an M-shape that gives me two bins.
Now we are at the end of winter and I’ve added the last of my herbaceous that had been left to give my garden some interest, I won’t put on any more.
Instead I’ll give this time to break down into a useable compost over the next 12 months.
Meanwhile, I’ll move on to my second bin and start filling this up.
The first to go in here will be the leaves currently getting pushed off my beech hedge to make way for the fresh new foliage.
Brown or dry materials
This is a great start as these, along with oak leaves, are just the best when they break down to make compost.
Along with prunings, wood chippings, paper and cardboard, these are known as brown or dry materials when composting, soaking up the excess moisture of the wetter, green materials such as grass clippings, weeds and vegetable peelings from the kitchen.
To make a good compost we need to get the right mix of brown and green materials which is no doubt the biggest challenge as these usually come in feast or famine.
Just now we are coming into grass cutting season, meaning weekly amounts of clippings, and very few of us will have will have enough dry materials to balance this out.
However all the best things in life require a bit of work. For me composting is well worth it and I’m reaping the benefits now.
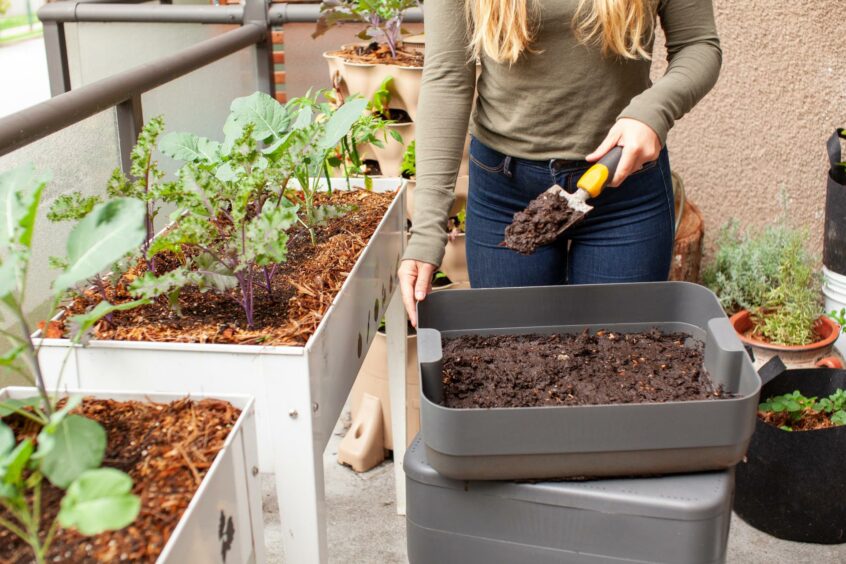
After I’ve put it through a garden sieve to remove any stones or chunks that need a bit more time to decompose, I have a heap of compost ready to be placed on the surface and feed the soil of my no-dig veg beds. All for free!
We’re going through a phase in horticulture where the industry is slowly withdrawing from using peat in our shop-bought compost bags.
Peat-free compost
Over the past few decades this was revolutionary in our potting mixes, though the process of extracting from the bogs has now found to contribute to the climate crisis.
It’s going to take a while for the compost-makers to reach the same quality of compost without peat, mostly down to the availability of alternative materials.
So I’m thinking of experimenting this year by using some of my own home-made compost as a potting mix.
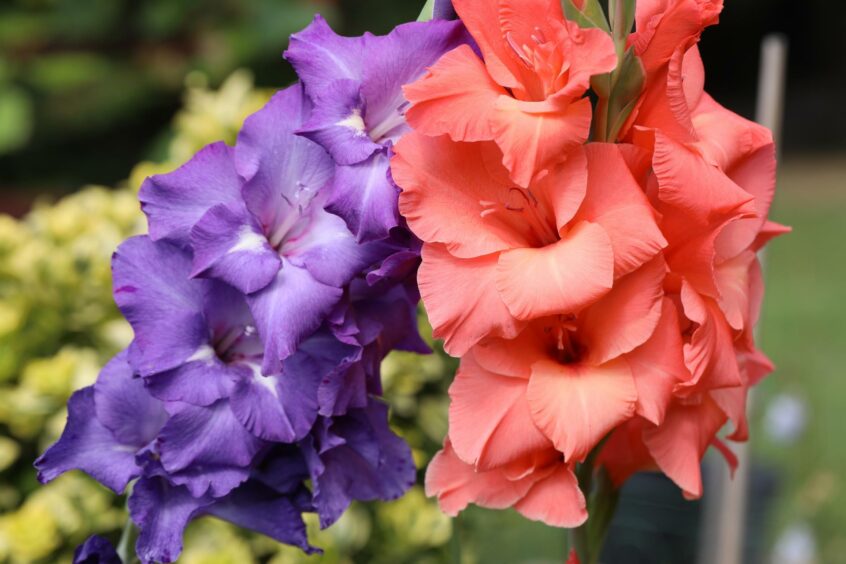
I’ve not grown gladiolus since my early gardening years. They seem to be having a bit of a resurgence with the breeders coming up with dazzling new varieties, so I’m keen to give them a try again.
Gladioli can be purchased as packets of corms (similar to bulbs) from garden centres and through mail order specialists.
Around 10 weeks after planting they’ll throw up tall, spiky stems of funnel-shaped flowers for a dazzling display in borders and containers. They are also superb as a cut flower in summer arrangements.
You can get types that with a bit of T.L.G. (tender, loving, gardening) will stay permanently in the garden but I’m talking here about the glamorous hybrids.
Unless you want to gamble with a free draining soil, it’s best for us up in Scotland to lift and store the corms for the winter somewhere frost free.
Growing gladioli in pots
I’m actually growing my gladioli in pots rather than into the ground, mostly for practical reasons and not wanting to tie-up the valuable space I have left in my beds at home.
So here is where I see the opportunity to use my own homemade compost for them to grow in.
I’m lucky that where I live is amongst trees so also have a healthy supply of leaf mould which I shall add to it in equal parts.
Getting the drainage right
The key will be observing how well this mix holds water. I may need to add some grit to assist with drainage, or maybe some peat-free soil-based compost to give my mix a bit of substance.
These can now grow away quietly in the corner. When they are ready to perform I can either plunge them into the soil in a gap in the border or sink my plastic growing pot into a more decorative pot for display.
Plant them in batches every two to three weeks from now until the end of May so they don’t all flower at the same time, and enjoy them for longer.

