Darkness is falling as I set off on a mission to find one of Scotland’s weirdest rock formations – the Bunnet Stane.
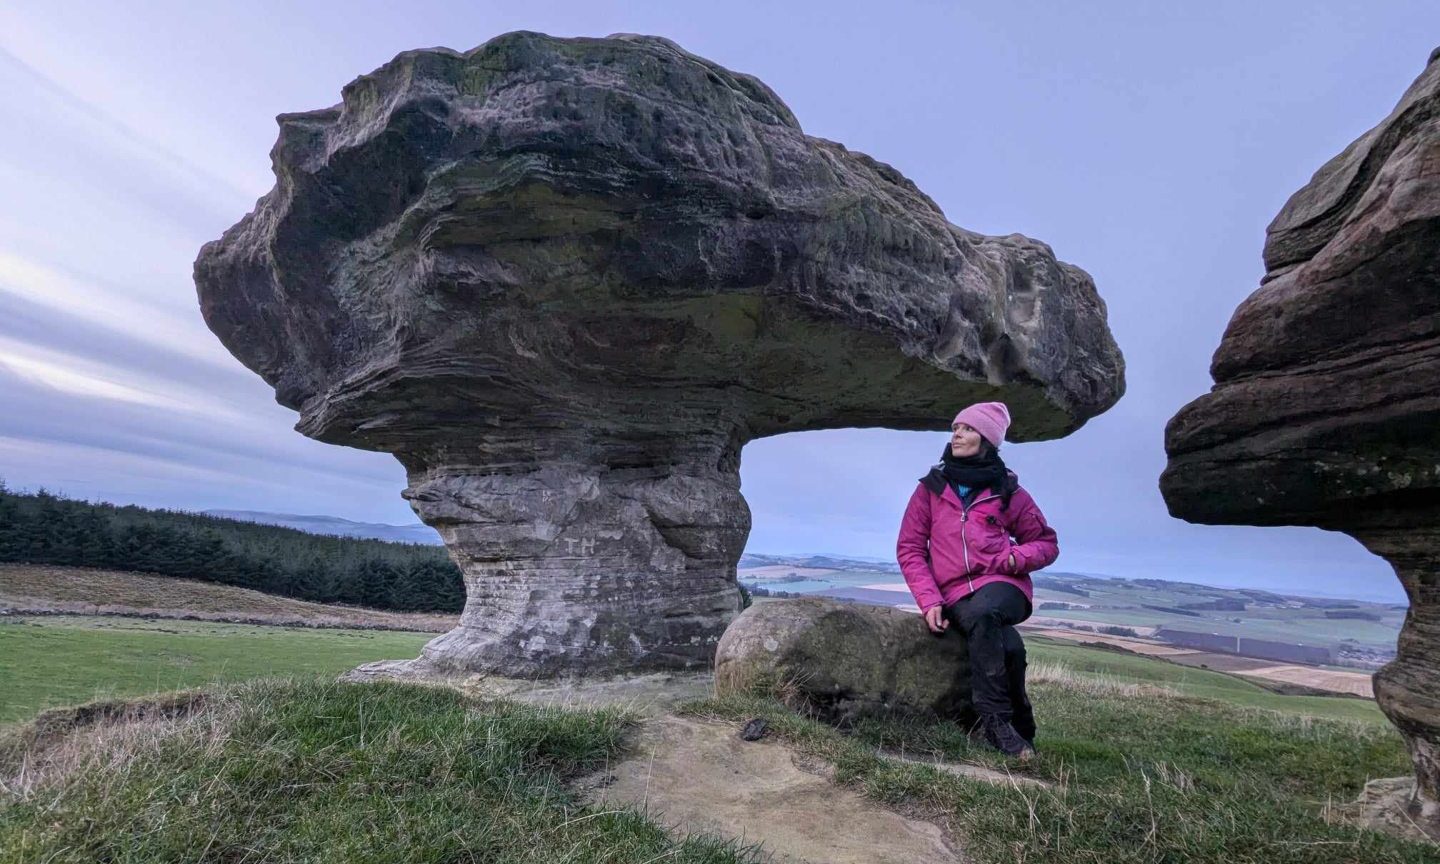
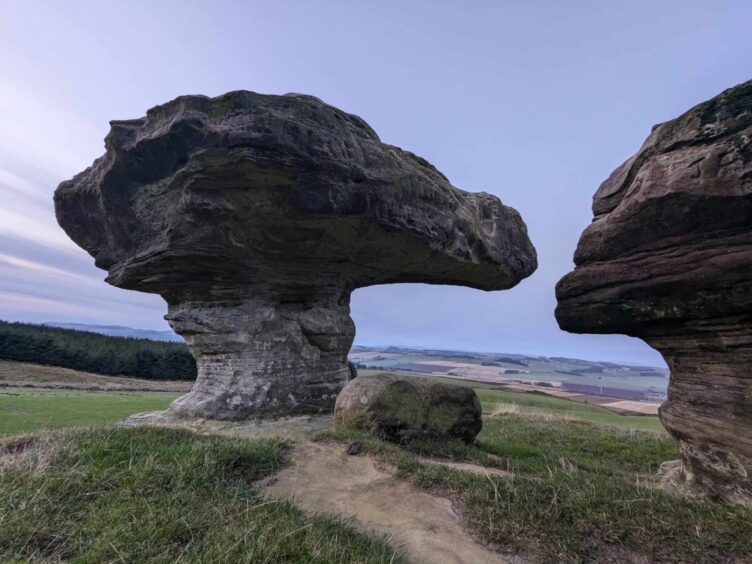
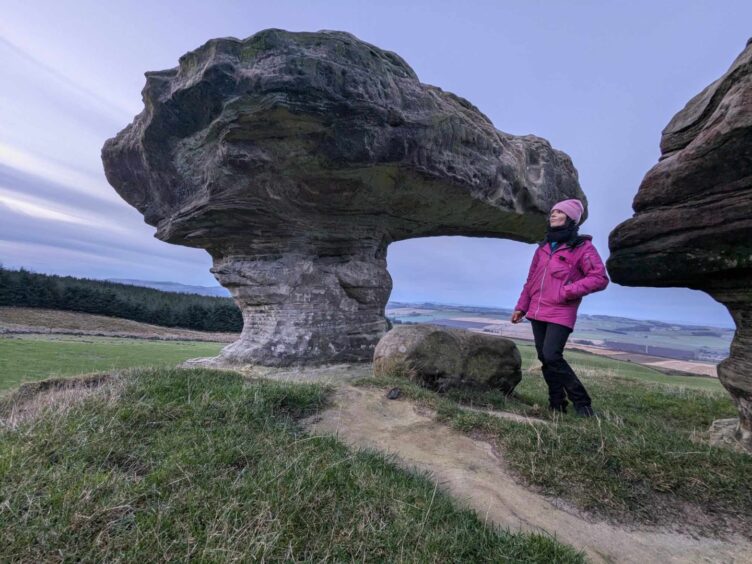
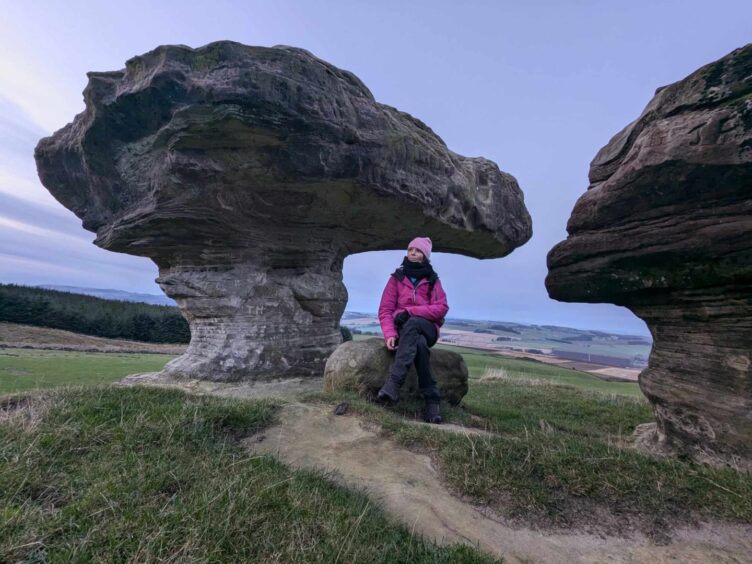
It’s shaped like a giant, otherworldly mushroom that’s been turned to stone.
It balances, precariously, on a slim sandstone stalk, and sits on the lower slopes of West Lomond in Fife.
I’d long been curious to see the bizarre looking bunnet (or bonnet), having seen striking photos of it plastered all over social media.
How do you get there?
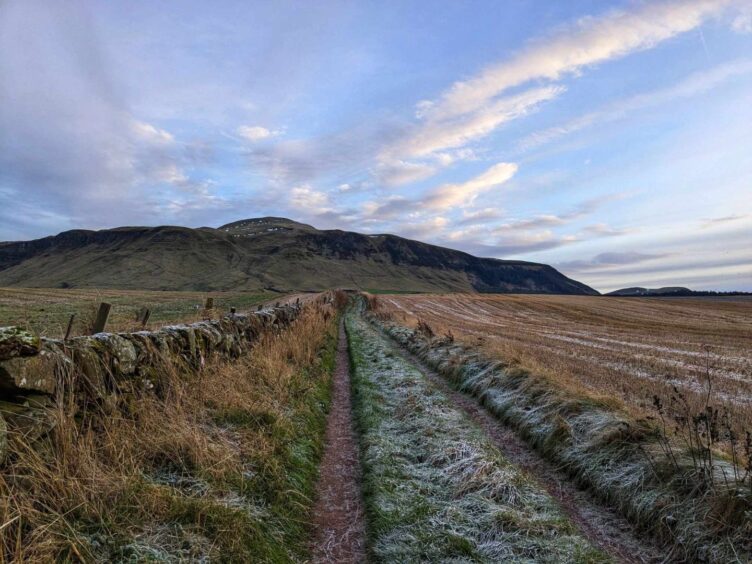
Once I’ve parked in a small layby next to the Scottish Water building on the minor road between Strathmiglo and Wester Balgedie, I head through a gate and onto a grassy path that runs alongside a dry stane dyke.
Fantastic views of West Lomond loom in front of me, but I stick to the edge of the field, mindful of the fact there could be livestock at large.
After about 20 minutes, I cross over a wooden stile into another field, and carry on upwards.
Very soon, the distinctive – and completely bizarre – form of the Bunnet Stane comes into view.
It’s like something out of a fairy-tale book: I fully expect goblins, elves and sprites to be hosting parties beneath the ‘mushroom’ cap.
Should you climb the Bunnet Stane?
Having seen photos of brave – or perhaps foolhardy – people standing on top of the bunnet, I consider, for about five seconds, clambering up there.
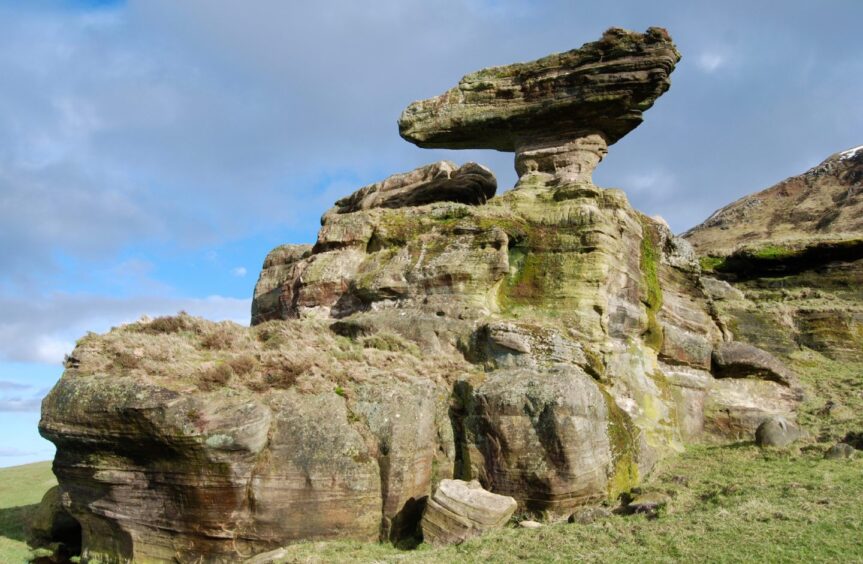
I reckon you’d need to leap across the gap that separates the flat outcrop and the bunnet.
I’m not a fan of heights – and I’m not great at rock climbing – so I decide, wisely, to avoid trying.
Instead, I wander around the elevated ‘table’ of rock supporting the bunnet.
How was the Bunnet Stane formed?
So how did the Bunnet Stane, which measures around four metres in diameter, and is perched on a thin column of rock, come to be here?
It’s made of grey sandstone and sits upon one of the calciferous sandstone outcrops of old red sandstone soot that exist around the base of the Lomond Hills.
There are various intriguing theories about its origins, with legends claiming that the rock served as a Pictish king’s tombstone or a Druids’ altar.
However, the rock’s unique, warped look is most likely just the result of natural weathering and erosion – the effects of wind, water and ice – over millennia.
Its location offers breath-taking, panoramic views of Fife’s rolling hills and countryside – I reckon I might head back here for a picnic in summer.
With the light fading fast, I decide to stroll back down the hill, but not before I’ve circled round the quirky feature.
What is the Maiden’s Bower?
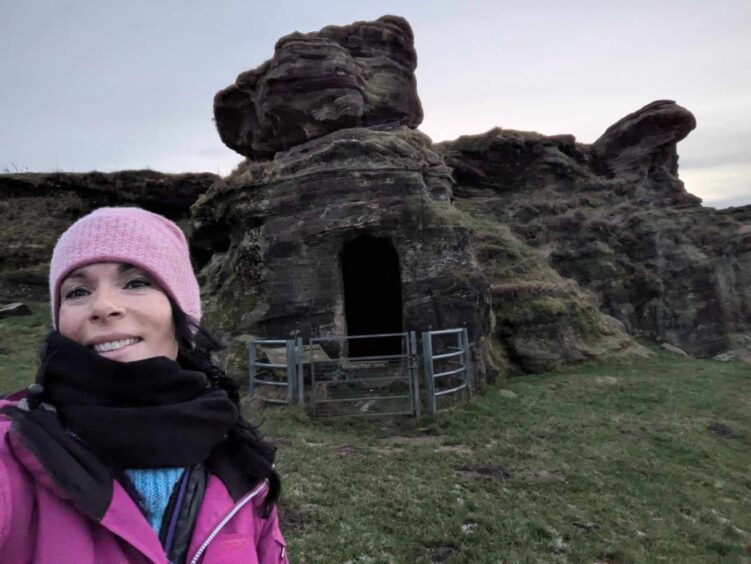
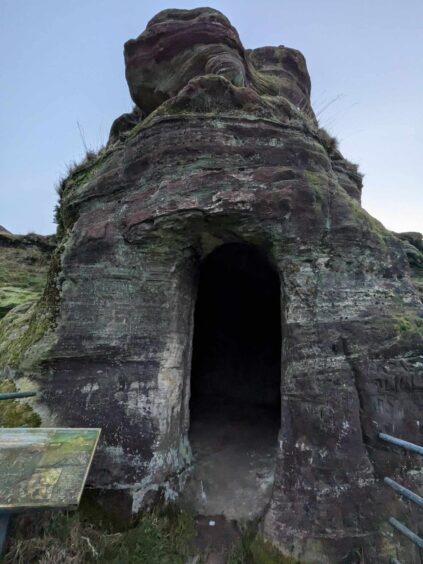
It’s at this point that I discover a small chamber carved into rock beneath the Bunnet Stane. I had no idea!
An old, weathered information board tells me this is the Maiden’s Bower.
Local legends tells the tale of a ‘sorrowful’ young woman, or maiden, who hid here following the murder of her lover.
The story goes that the girl had fallen head over heels with a young lad from a rival family.
The couple regularly met here, in this secret chamber.
However, as with most tragic romances, the lad was ambushed and killed by the maiden’s henchmen as he headed up for their tryst once dark night.
The heartbroken lass fell into mourning, and lived the rest of her life, like a hermit, in this tiny cave.
Make a wish
It’s said that she is buried beneath the Bunnet Stane, and that if you are “pure in heart” that any wish you make in the cave will be granted within a year.
I can’t resist popping inside the chamber for a peek, and yes, of course, I close my eyes and make a wish.
I won’t reveal what my wish is – but no, it hasn’t come true yet. There’s still plenty of time…
The tragic love story is, of course, the romantic version of the cave’s origins.
But there are other theories which have been deemed more realistic.
The less romantic theories
A more likely explanation is that the cave was the first excavation (the ‘maiden bore’) of a 19th Century geological survey, or that it was created as a bothy for shepherds or farm workers.
Whatever the reality – and I much prefer the doomed love legend – the Maiden’s Bower is a pretty fascinating place.
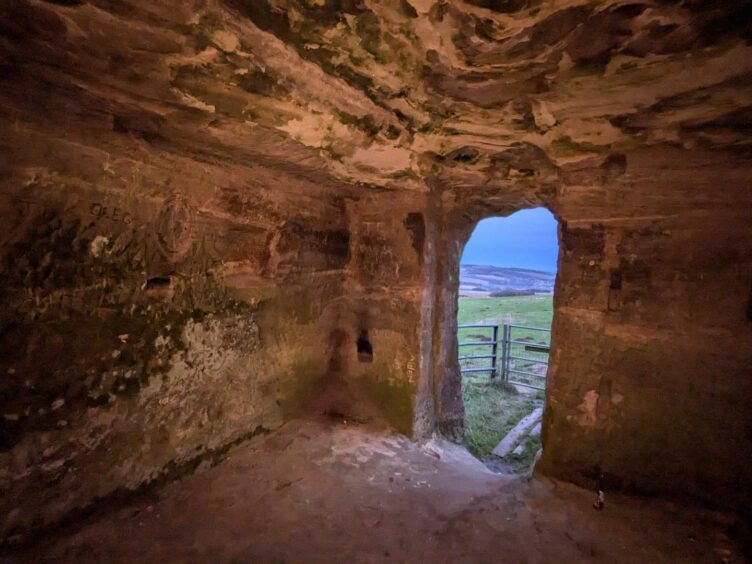
The walls inside boast grooves, notches and small ‘platforms’ which may have been used to divide the space into areas for sleeping or storage.
The remnants of an iron fire grate and a ventilation chimney are also in evidence.
An archaeological visit to the cave in 2022 notes “pick marks” of the “quarriers” who created it, and evidence of part of a frame of “what must have been a substantial wooden door”.
Was it a shed for explosives?
The author of a newsletter, following the visit, suggests that the cave was constructed to act as a “secure store or magazine (building) for gunpowder or other explosives”.
The reasoning? It’s located in a landscape which boasts numerous 18th and 19th Century quarries and limekilns.
The report states: “In this context the hole in the north-west corner of the roof, if it
was an original feature, was probably a vent, adequate ventilation being a requirement
for any explosive store.
“This may also explain the five small holes that have been drilled through the north side of the cave.”
The earliest known reference to the cave is 1823, when a Reverend Small
mentioned it.
Opportunity to walk West Lomond
It’s a peaceful spot – great for meditation – but I need to hurry back to my car before I’m plunged into total pitch black.
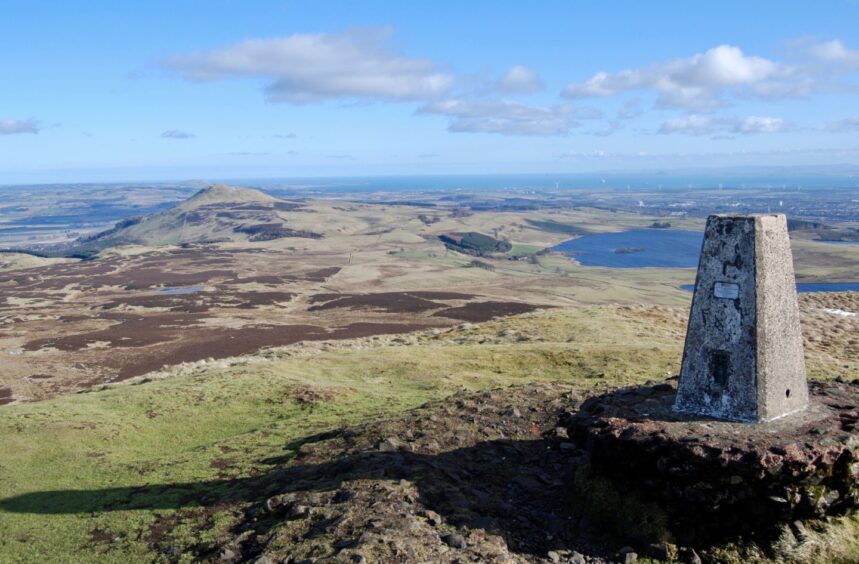
If you’ve got the time, the energy and the right equipment, you can continue walking uphill from the Bunnet Stone to conquer West Lomond.
A steep path climbs up the 522m peak, which is the highest point in Fife.
I decide to leave that for another day.
The Bunnet Stane walk is, in itself, a fantastic way to blow off any festering festive cobwebs.





Conversation