Upcycling had a bit of a moment in 2020, when the Covid pandemic locked the world down and many of us found ourselves in need of a project.
Some used their artistic and DIY skills on pieces of furniture in need of a makeover, with amazing results.
Reader, I was not among them. My creative abilities don’t go much further than writing – and you might not even agree with that.
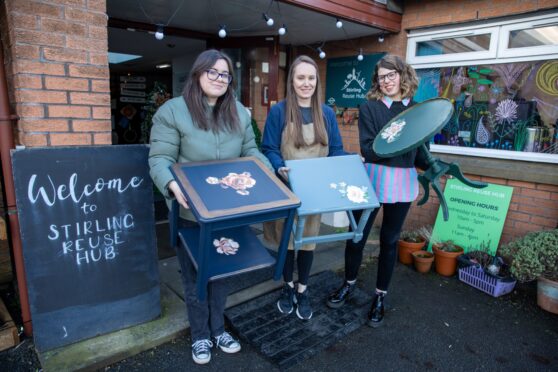
I’m telling you this because when I got in touch with Stirling Reuse Hub to ask if I could attend one of their popular upcycling workshops, my aim was to prove that if I can do it, anyone can.
(And maybe also because I thought it might be funny for you to read about if I couldn’t do it.)
Just in case I ended up weeping in a pool of paint, I brought Stirling reporter and notoriously competent crafter Isla Glen along with me for backup.
Accompanied by talented Courier photographer Kenny Smith – who, it transpires, is a bit of a DIY whizz himself – we visited the Reuse Hub to learn how to upcycle like the professionals.
Here’s what happened.
What is Stirling Reuse Hub?
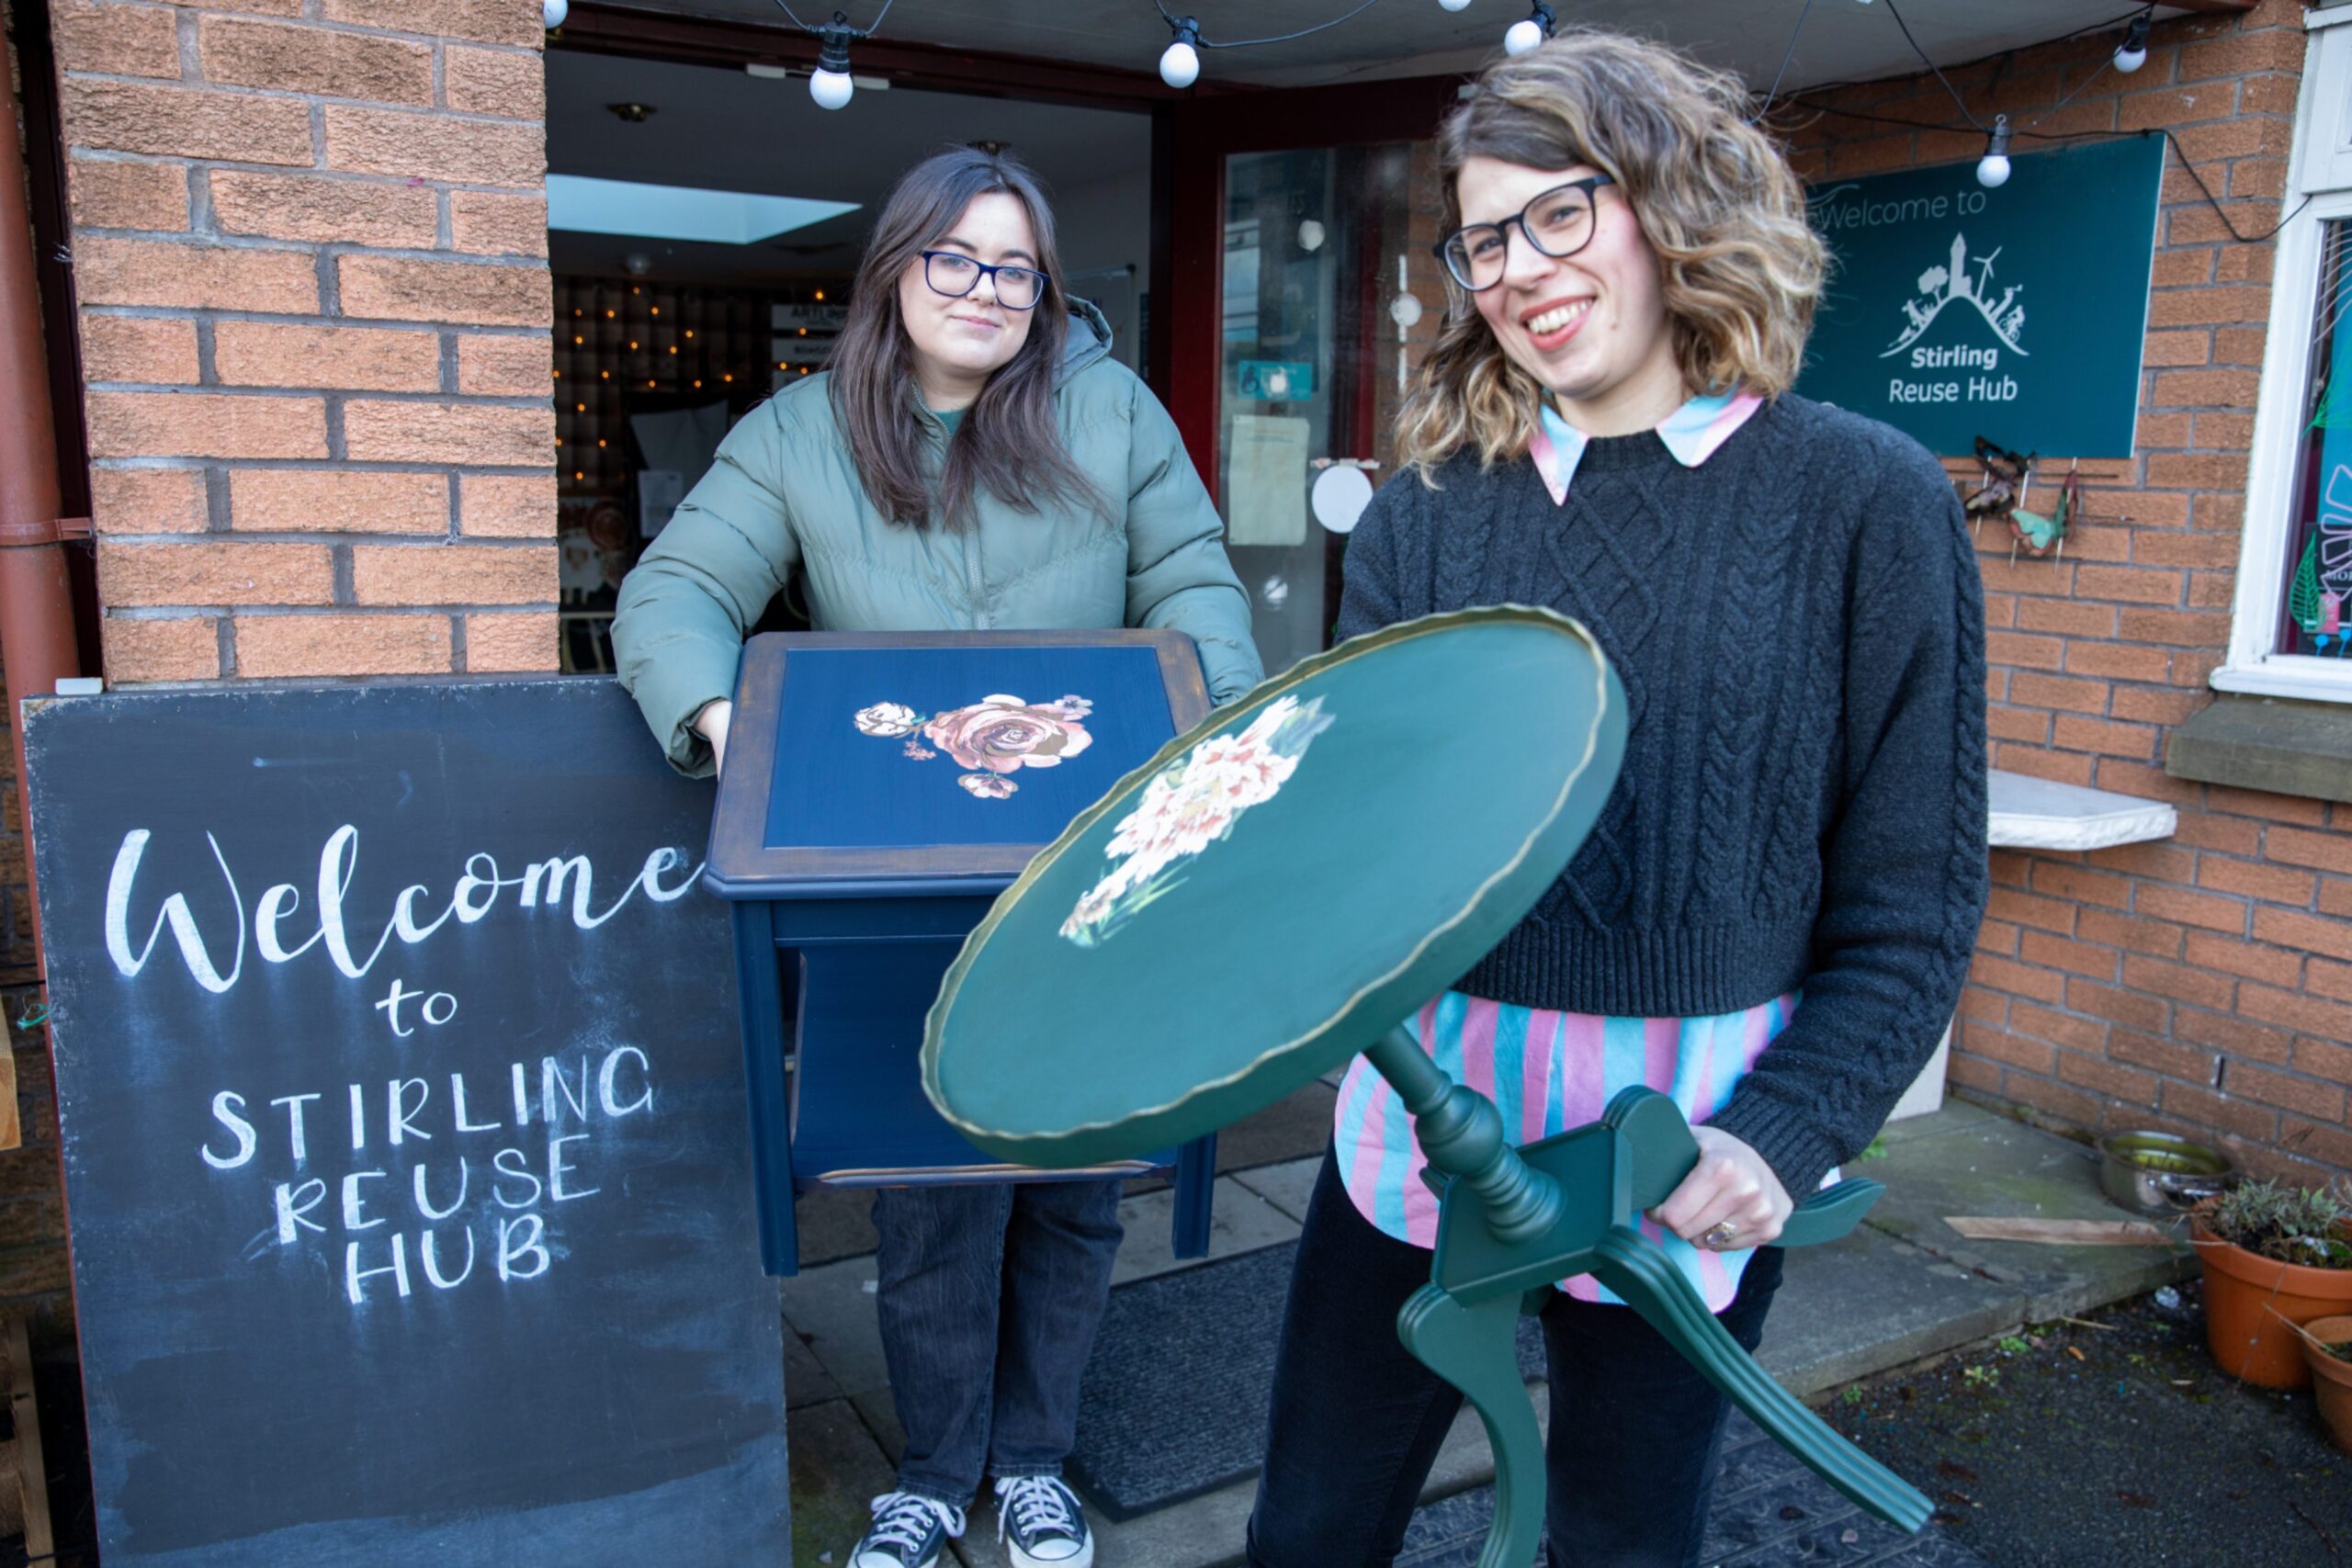
Stirling Reuse Hub hosts popular furniture upcycling workshops regularly.
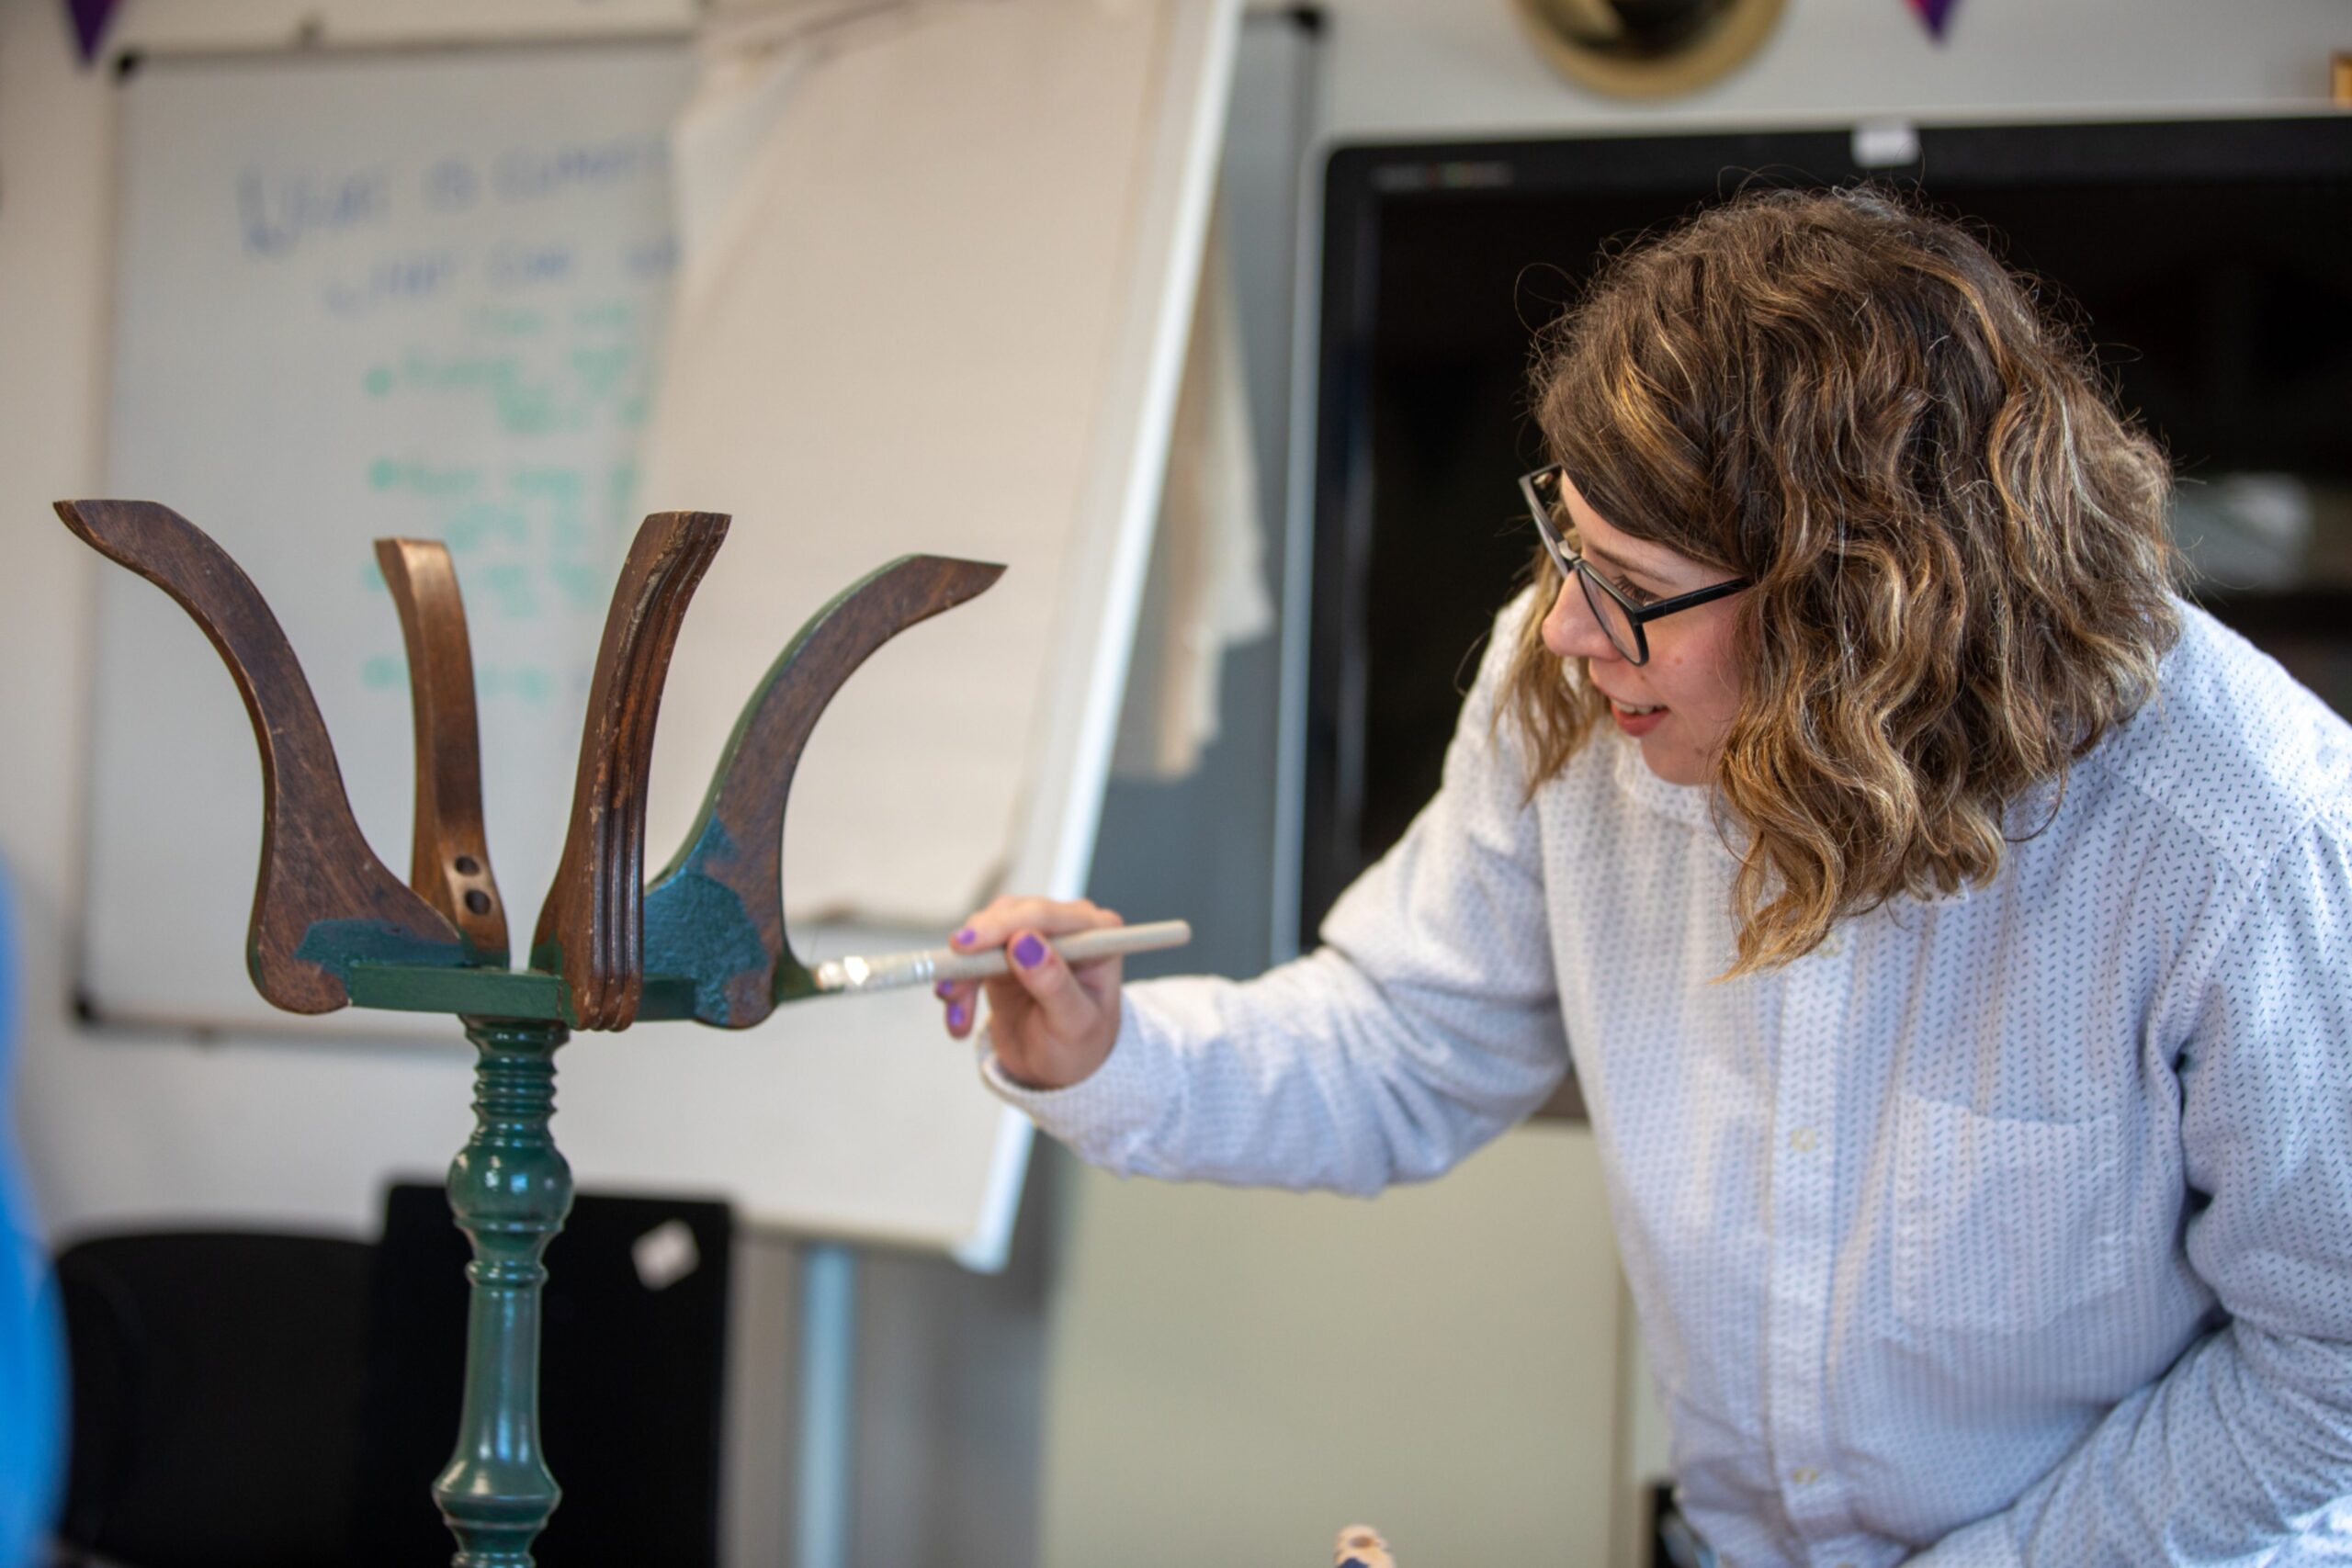
Caroline Moriarty is one of the artists who runs the classes.
Instantly warm and enthusiastic, she welcomes us to the Reuse Hub by walking us through the warehouse, where members of the public are welcome to visit, browse and bag a bargain.
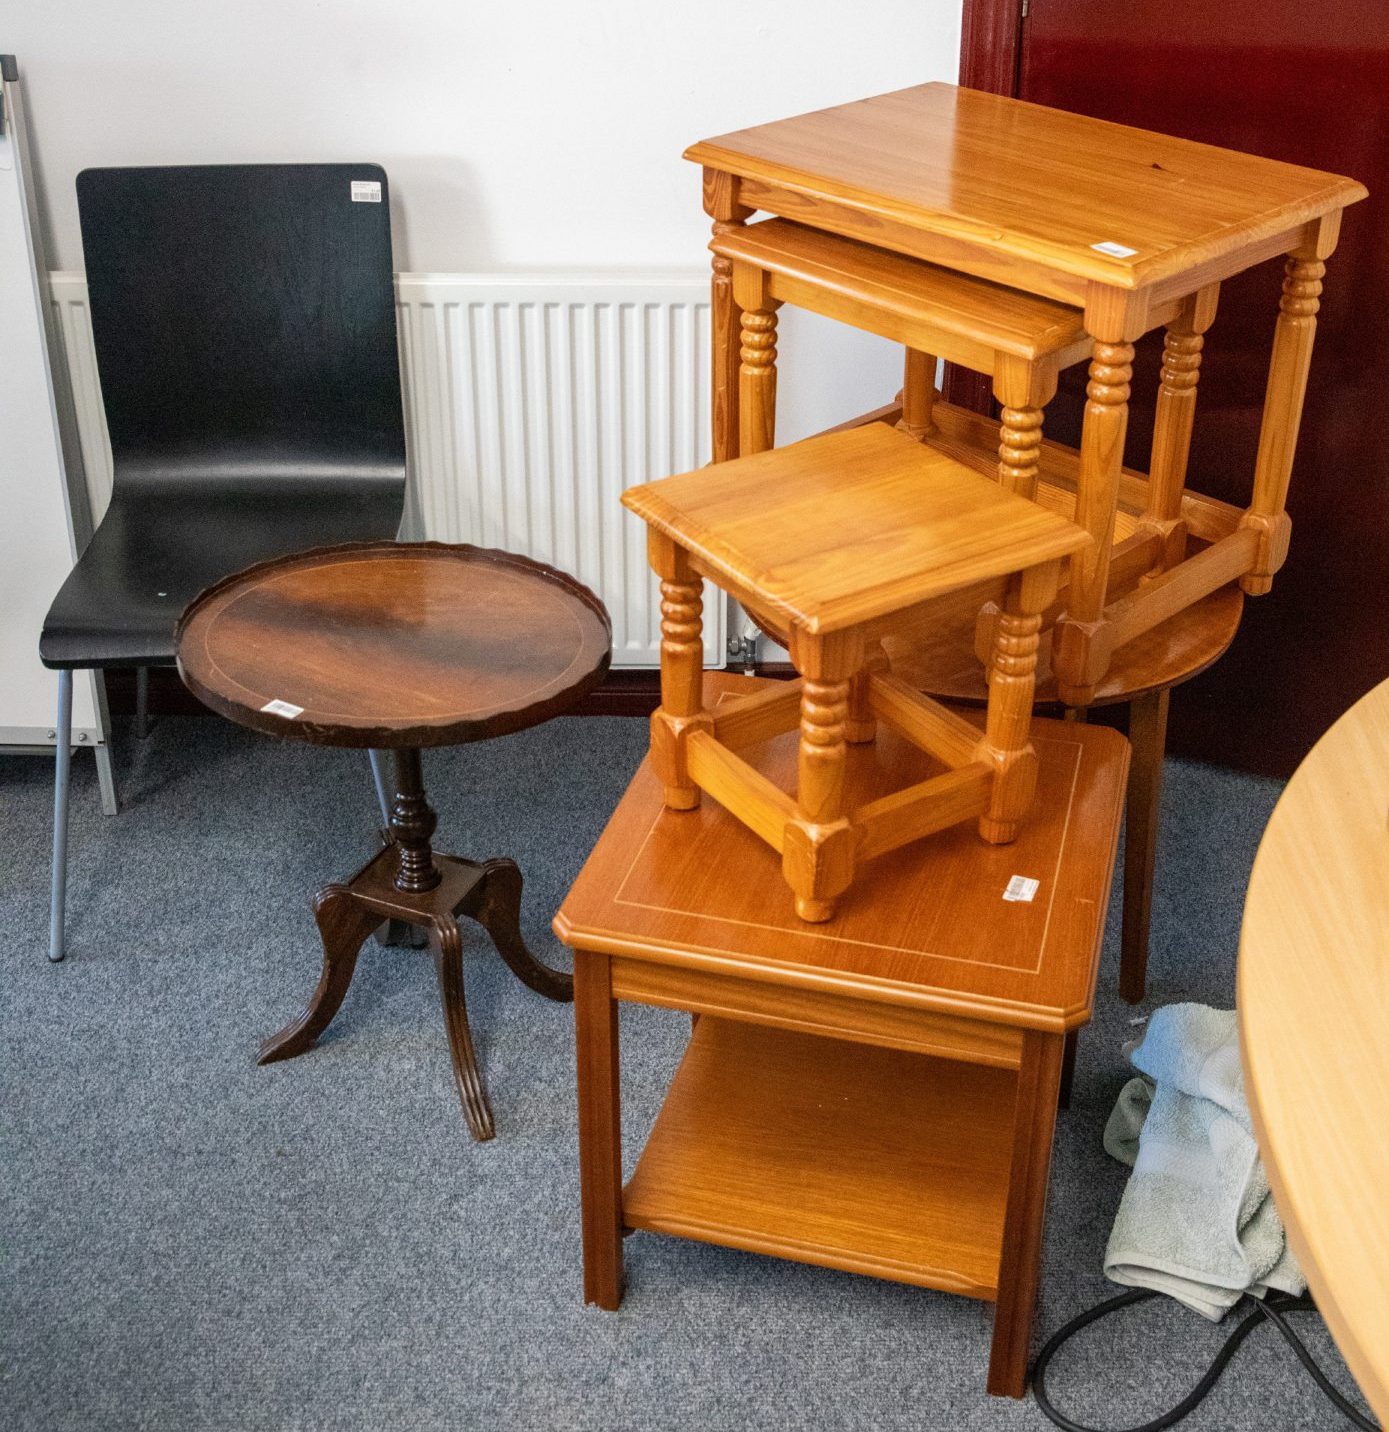
There’s a vast and truly impressive array of donated furniture and household goods in great condition, and some of them have been upcycled.
Caroline, otherwise known as Designs by Moriarty, transforms run-of-the-mill chests of drawers, dining chairs and sideboards into show-stopping accent pieces, painted in bright colours or adorned with flowers.
She shows us some of her work, both in the Reuse Hub and via photos on her phone.
Then, she points to a collection of wooden side tables and tells us we’re about to do exactly what she does in just three hours.
I want to run away, but Isla won’t let me.
Instead, I put on a borrowed shirt to avoid paint splashes (thank you, Reuse Hub) and get ready to learn from the master.
Upcycling 101
We start by cleaning the tables we’re going to be painting.
It sounds like a basic step – almost not worth highlighting.
But, Caroline tells us, the big problem with the Covid upcycling trend was that a lot of inexperienced upcyclers didn’t properly prepare their furniture for painting beforehand, meaning the dirt fell away over time, taking the new paint with it.
Before we even think about choosing our paint colours, we thoroughly clean our tables with sugar soap, then sand them down using sandpaper.
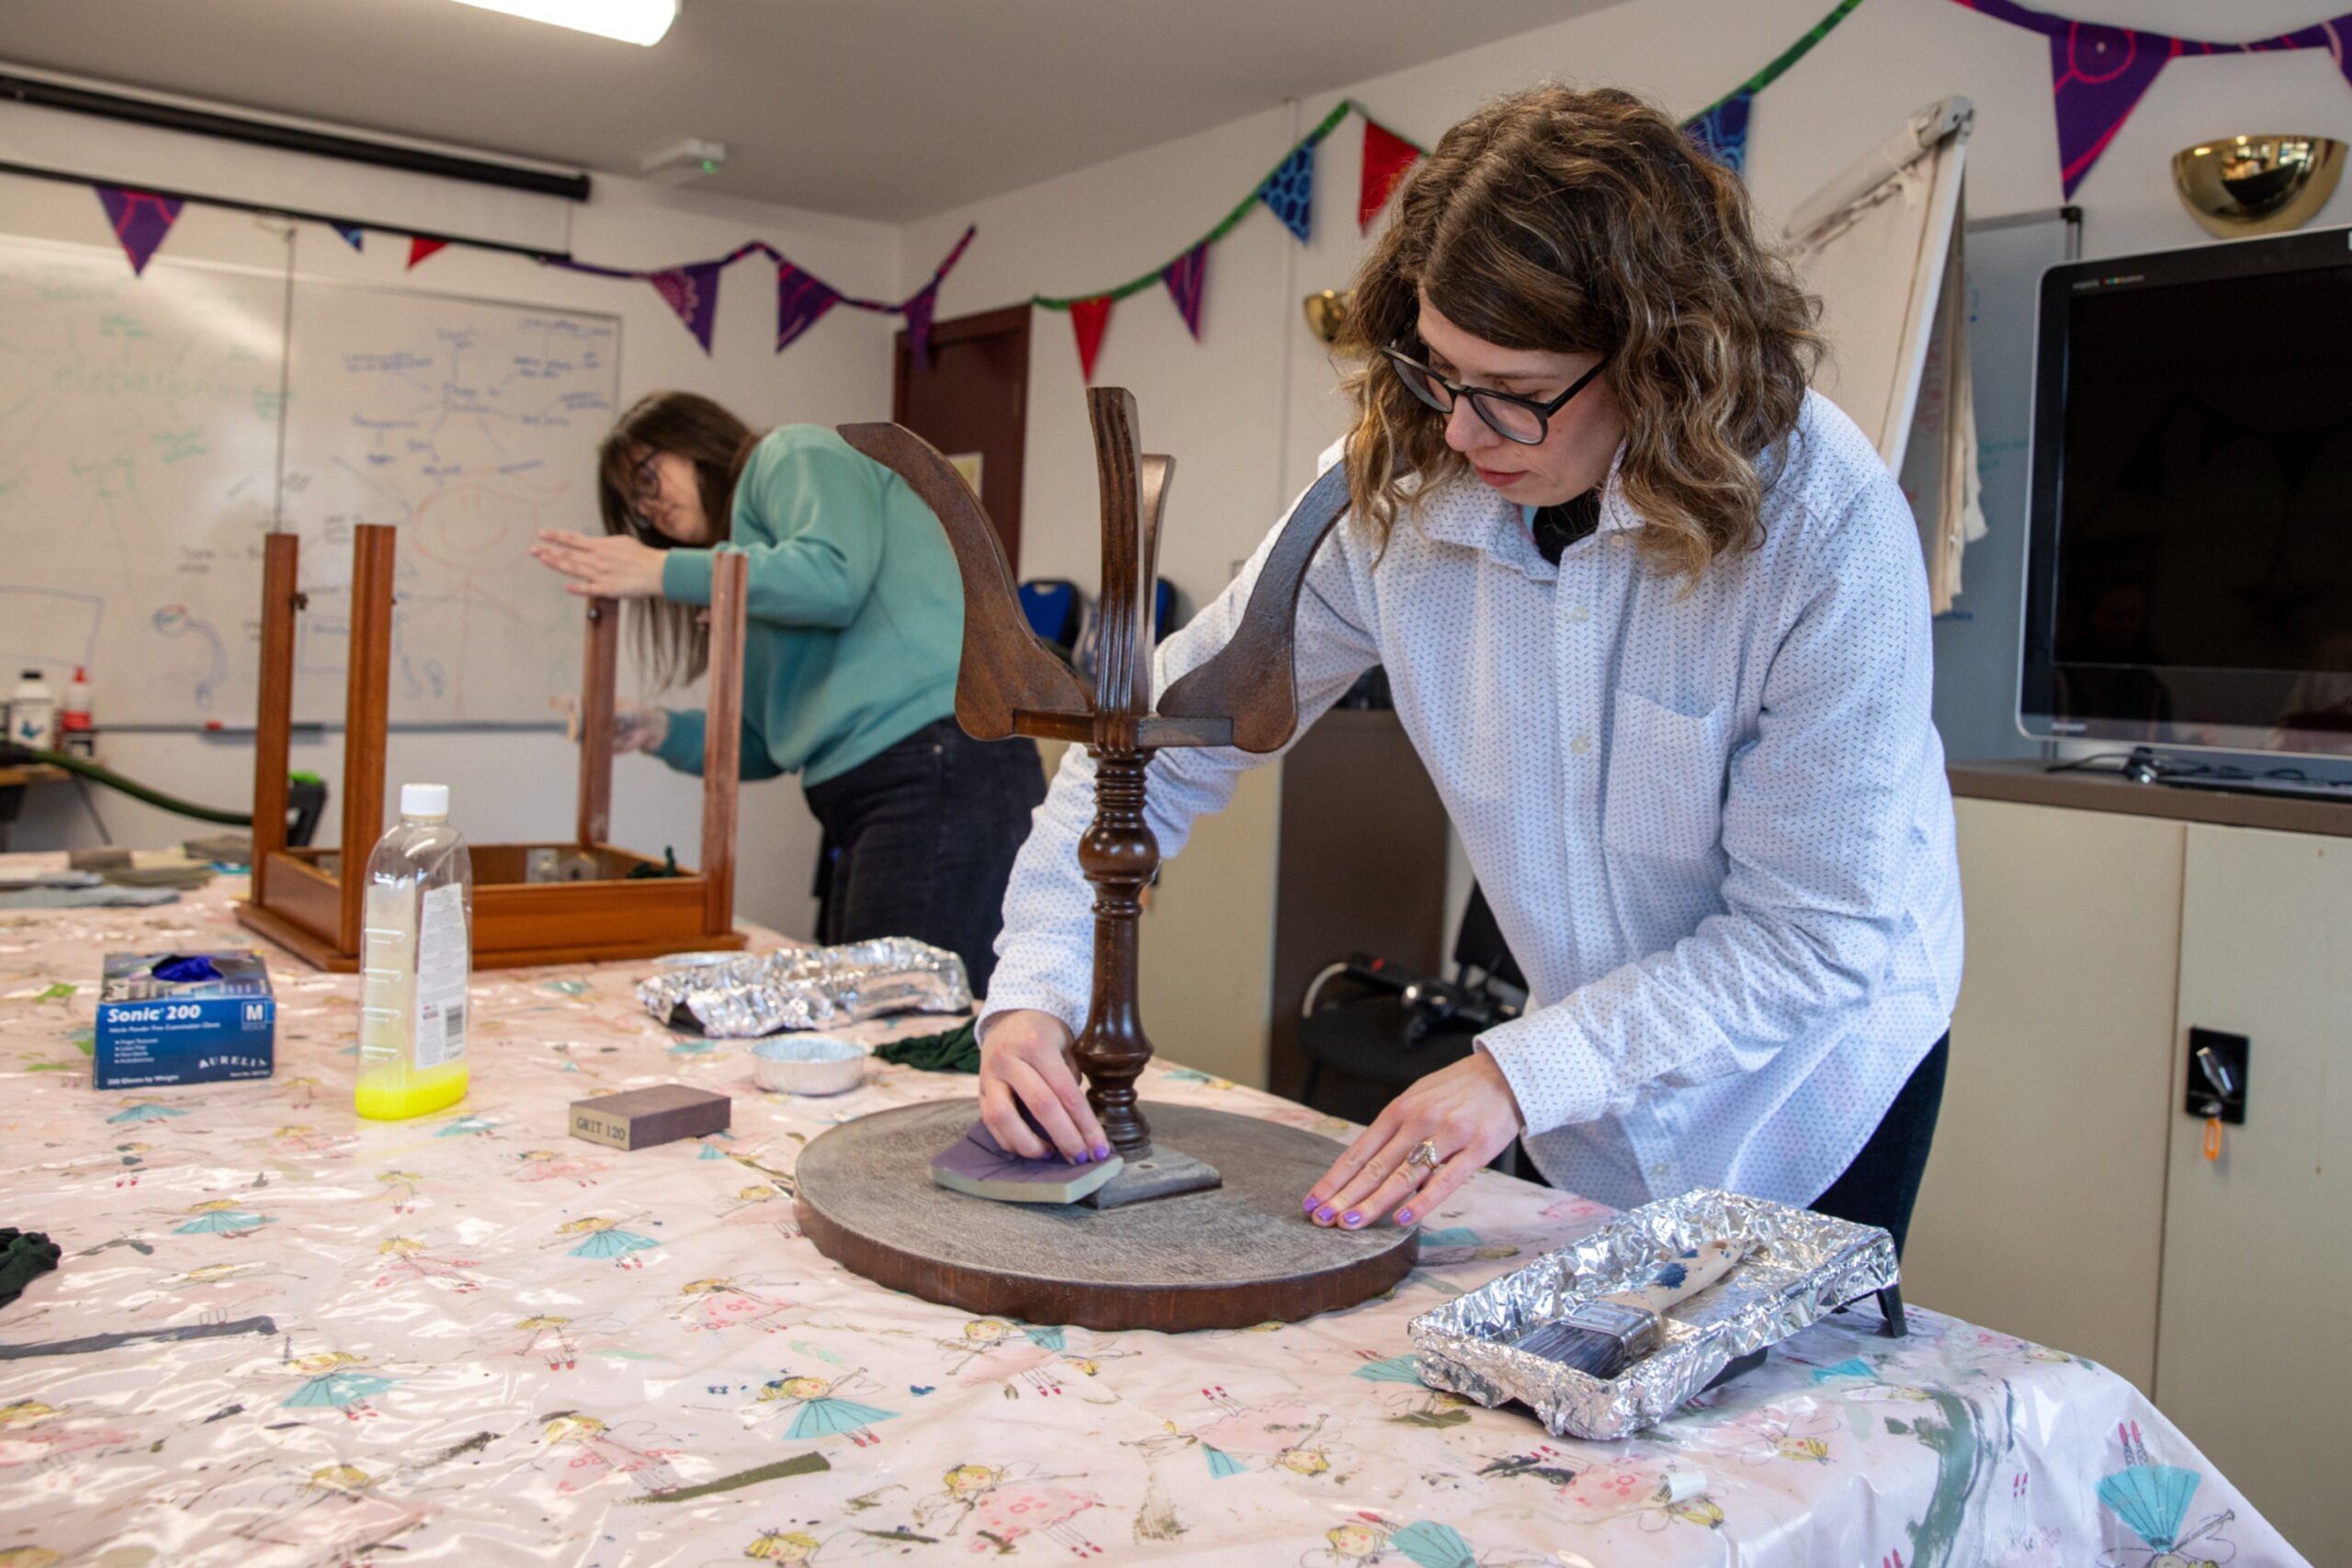
The final prep step Caroline mentions is painting wooden furniture with a suitable primer before the colour goes on.
This is usually only necessary if you choose a light paint shade, which none of us do this time, so we don’t prime our pieces.
But it’s a great piece of upcycling knowledge to have in our pockets – and that’s what Caroline’s classes are all about.
She gives people the basic skills and confidence they need to take on their own projects at home.
And everyone from children to women who have survived and escaped domestic violence situations have taken her classes and left with a spring in their step.
Time to get painting
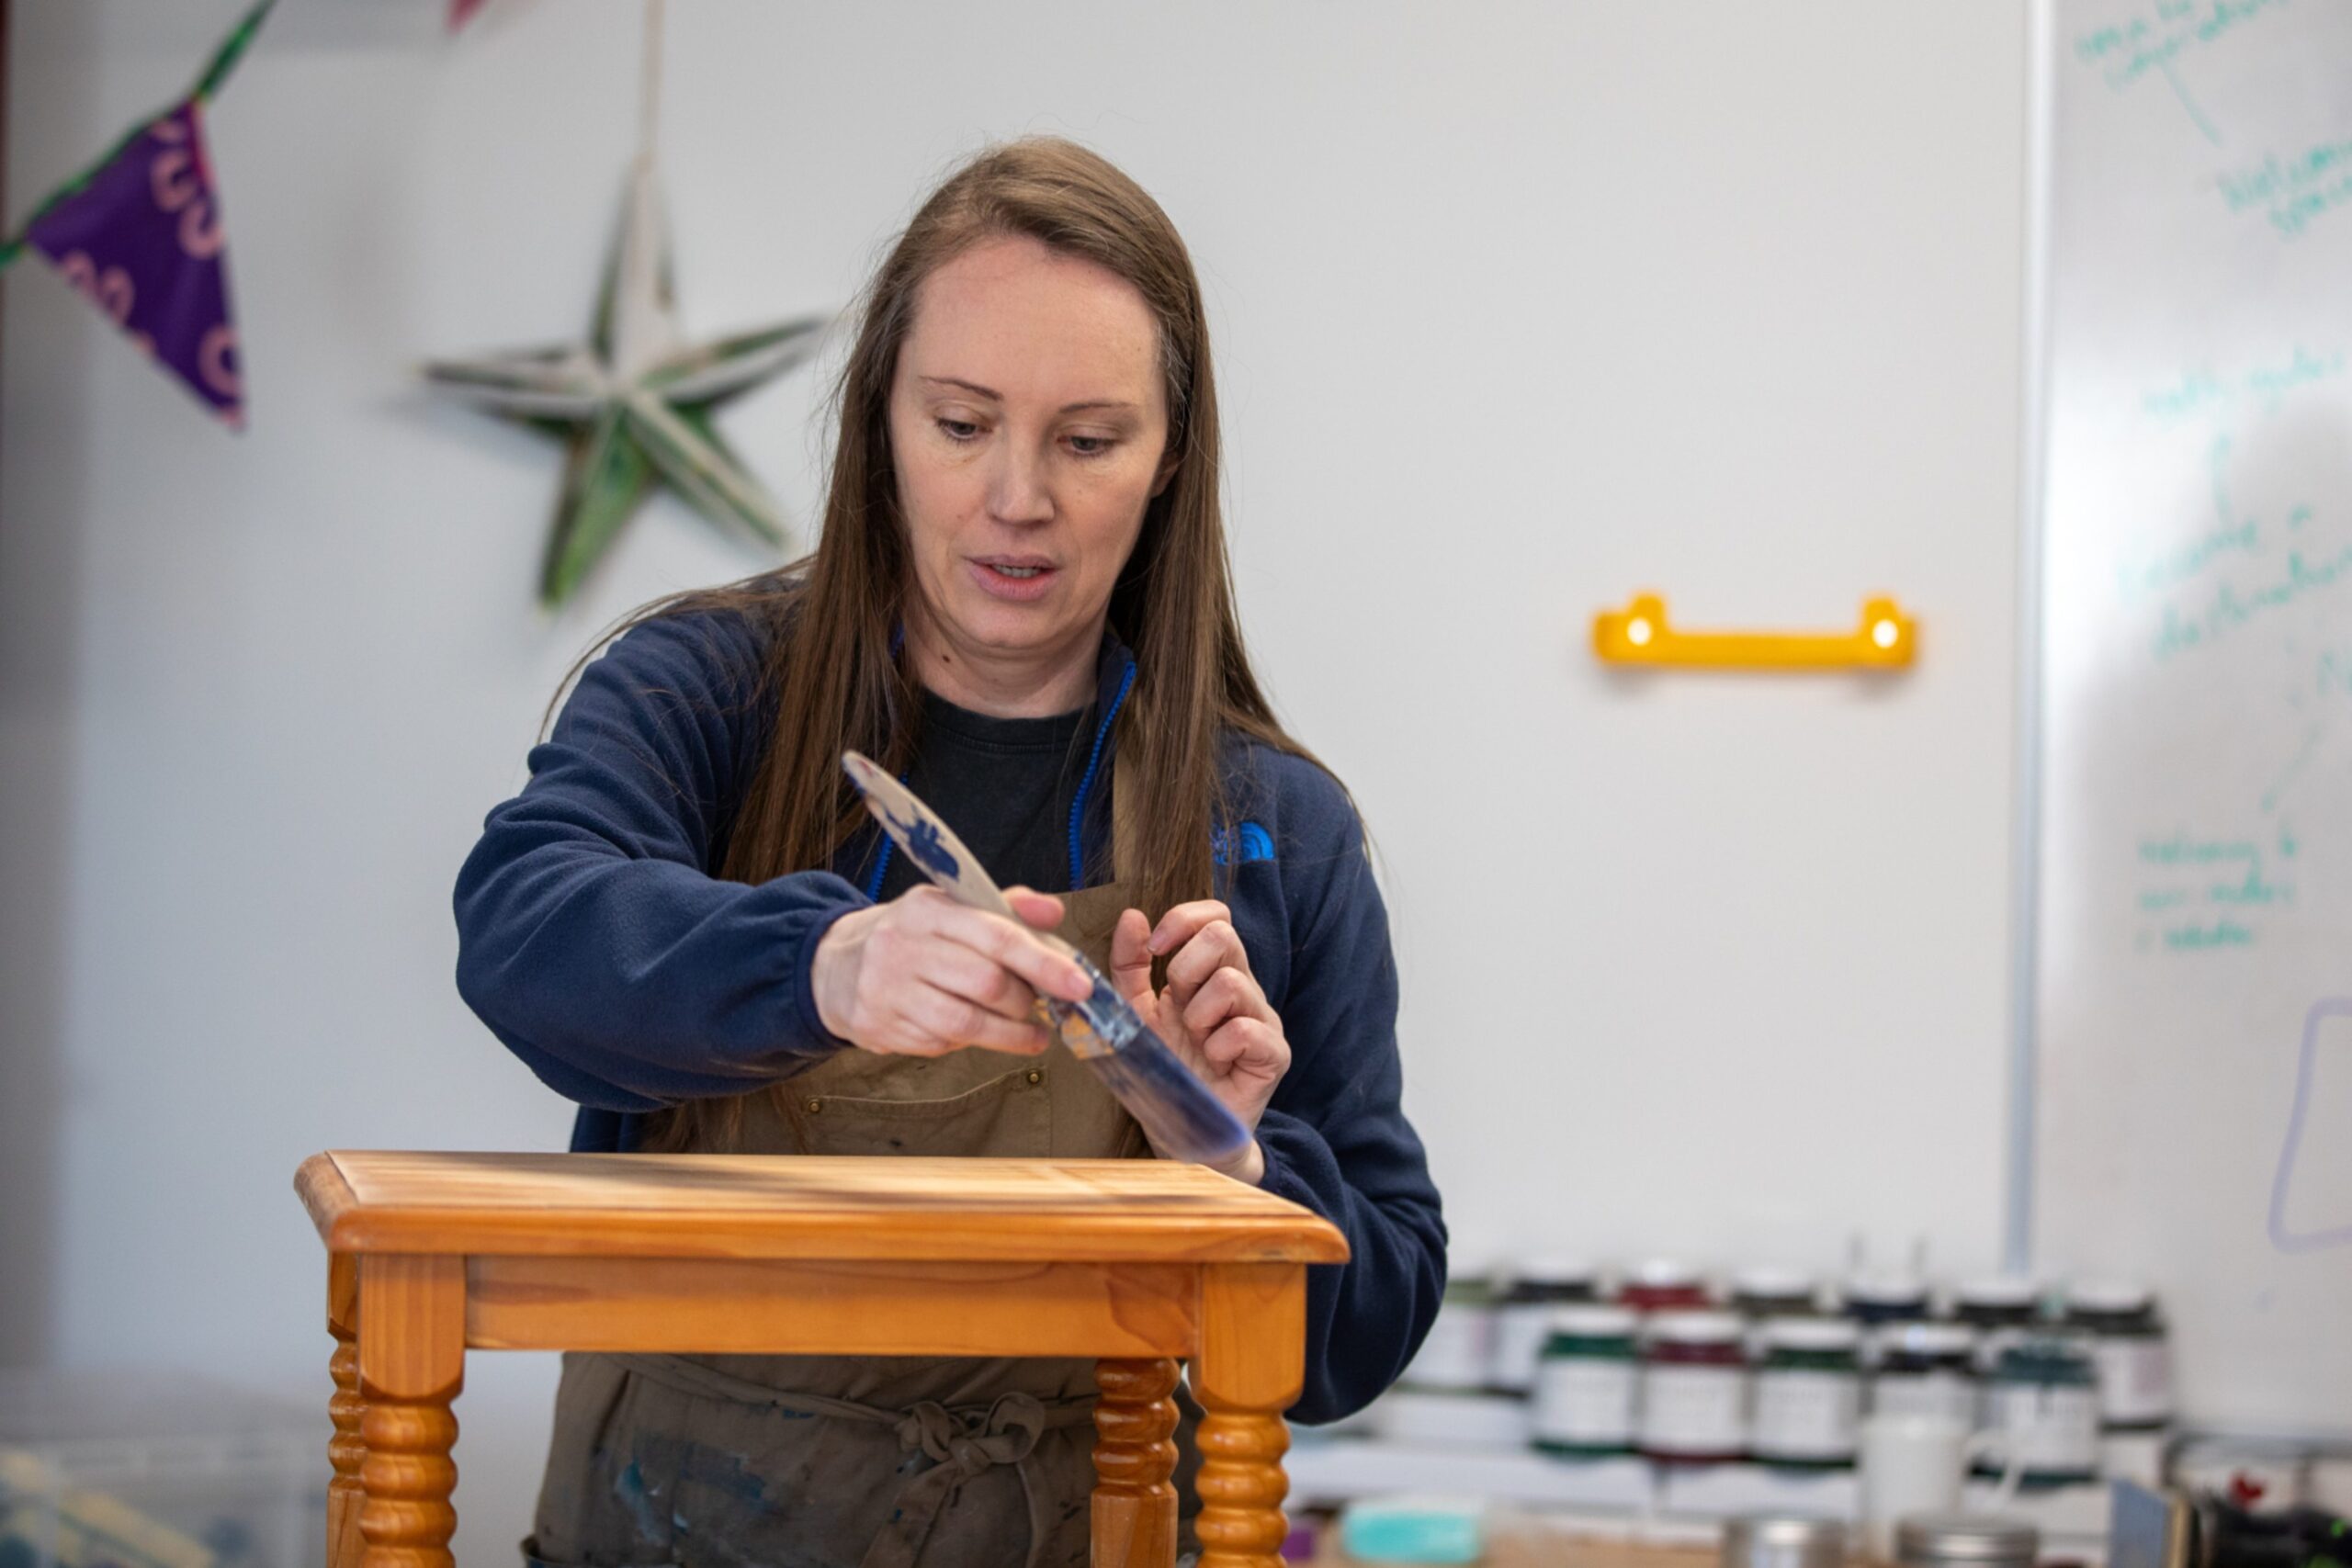
With all the proper prep steps taken, it’s time to start painting.
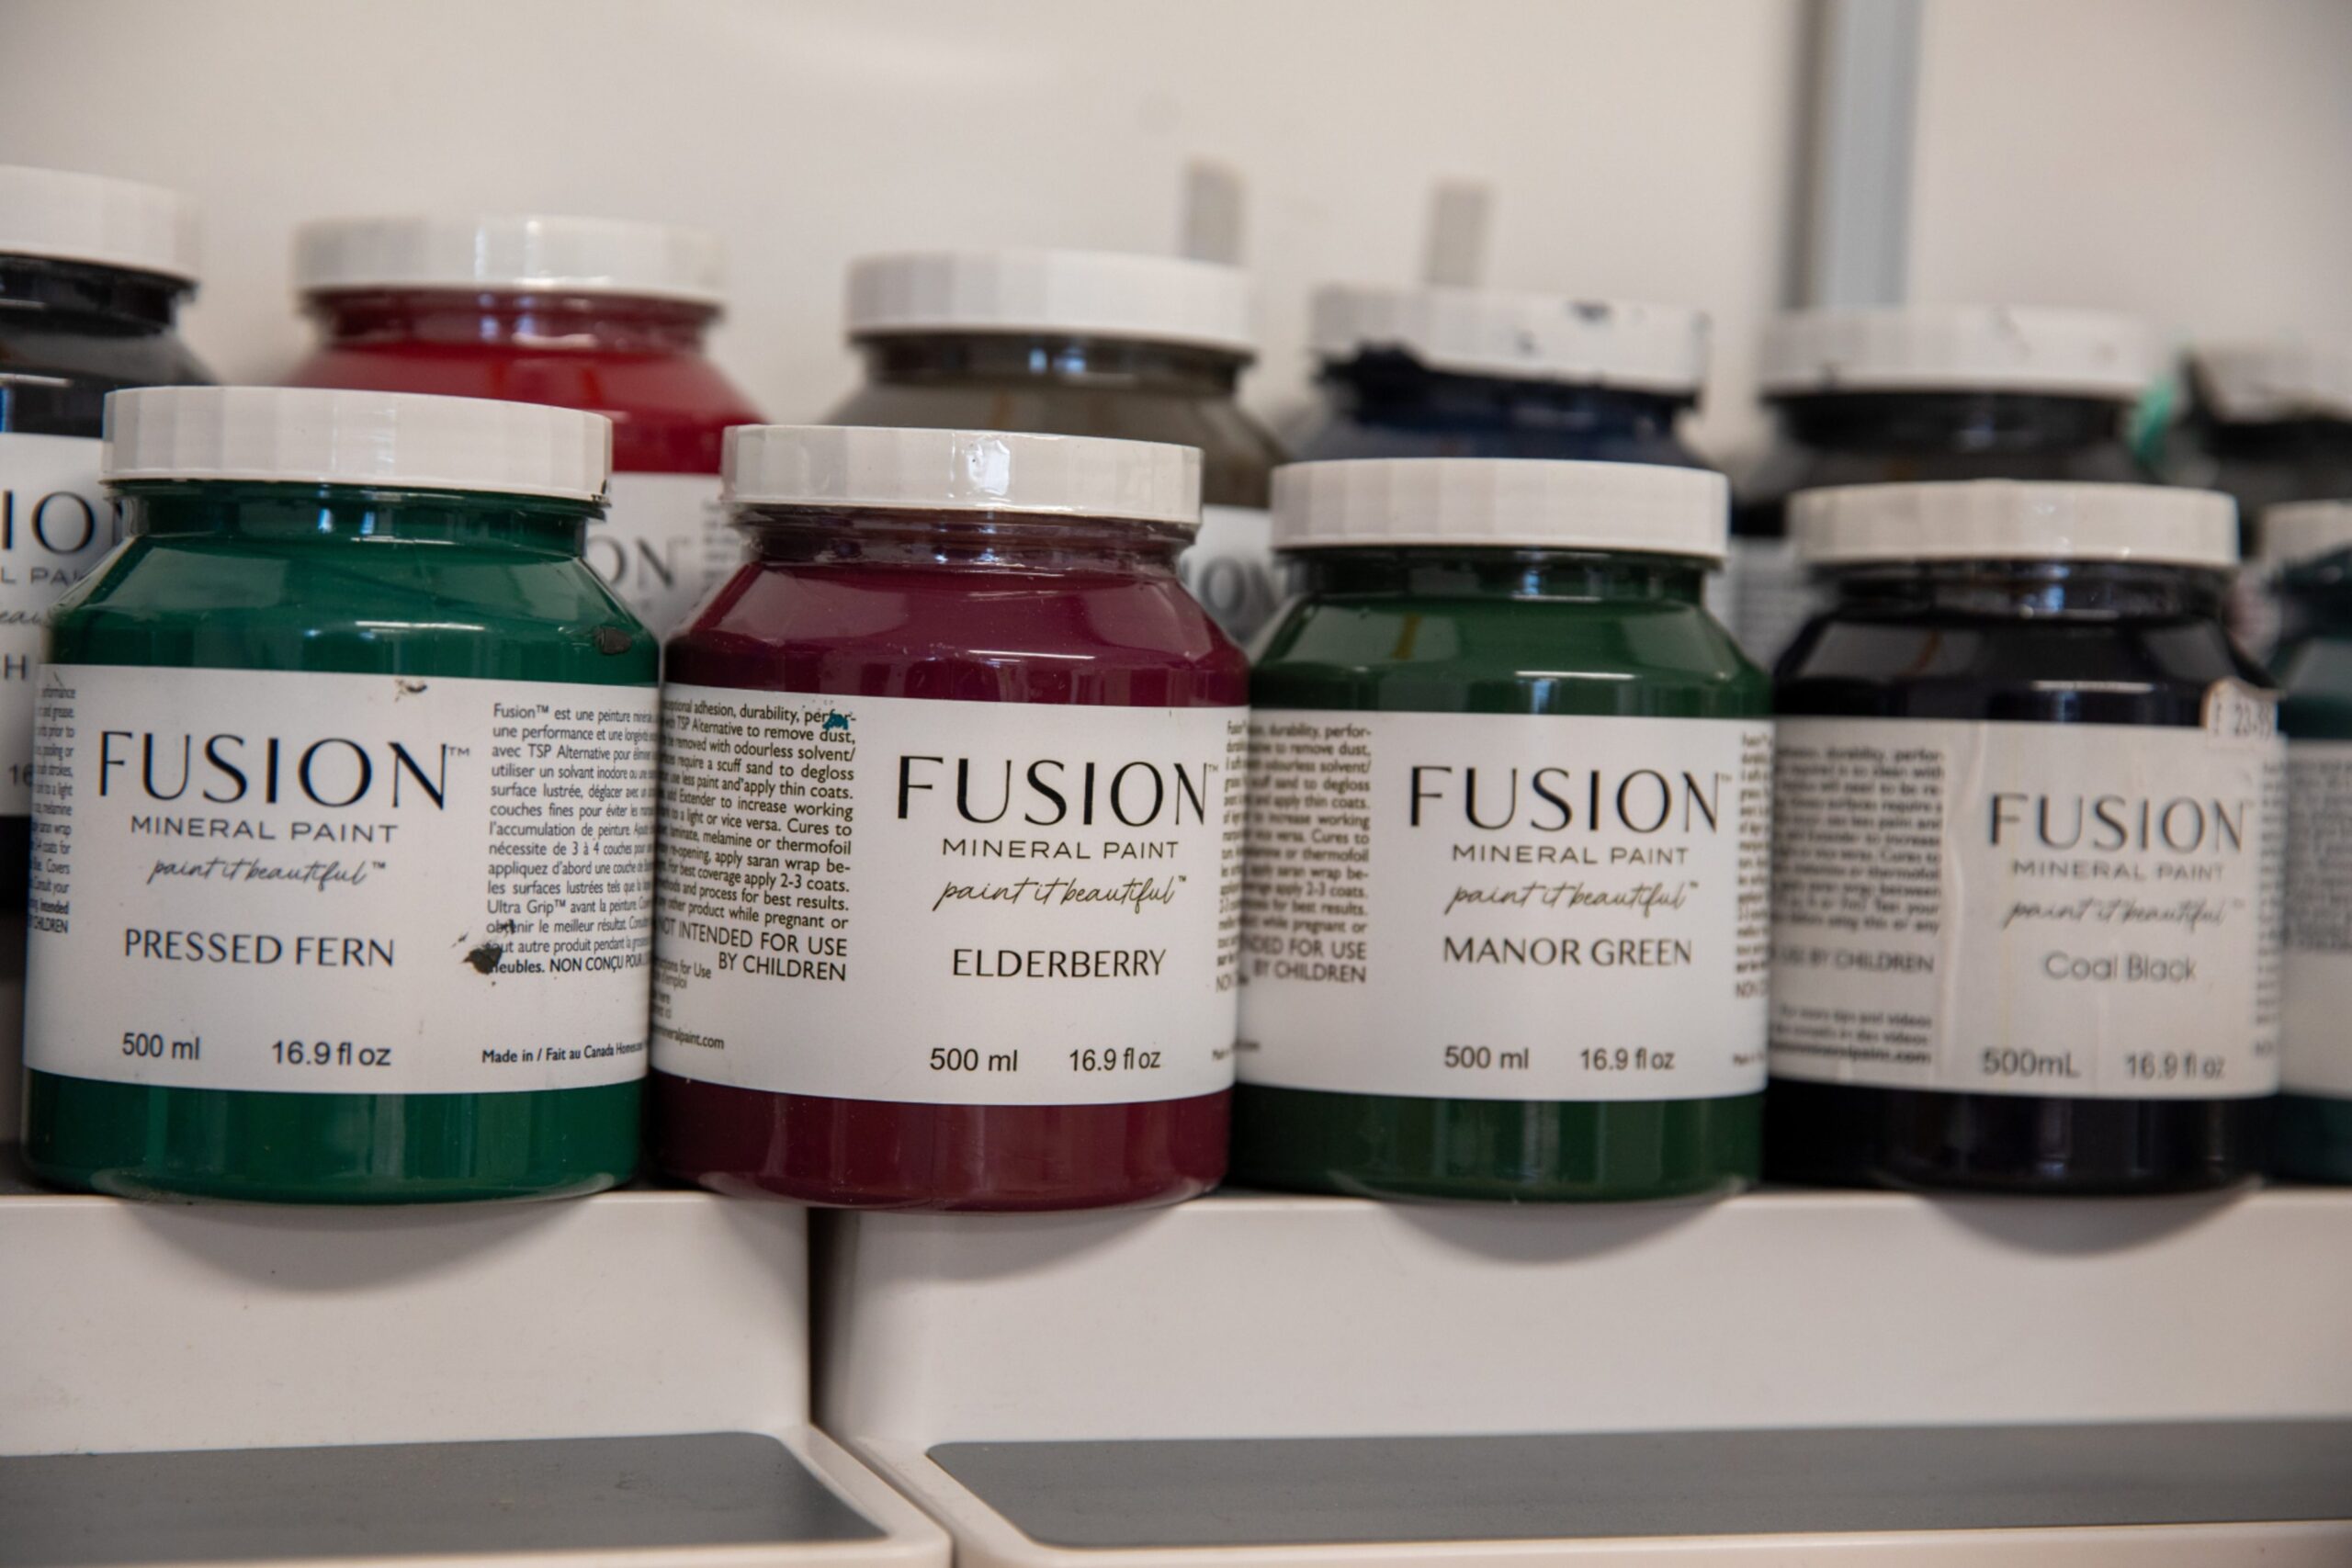
Caroline has tried and tested lots of types of wood paint in her time, so she only brings the best for her workshops.
One of the most useful things about her classes is the advice given on which products to buy – when to save your money and when to invest in quality.
There are lots of eye-catching paint colours to choose from, including midnight blue, forest green and a deep burgundy red.
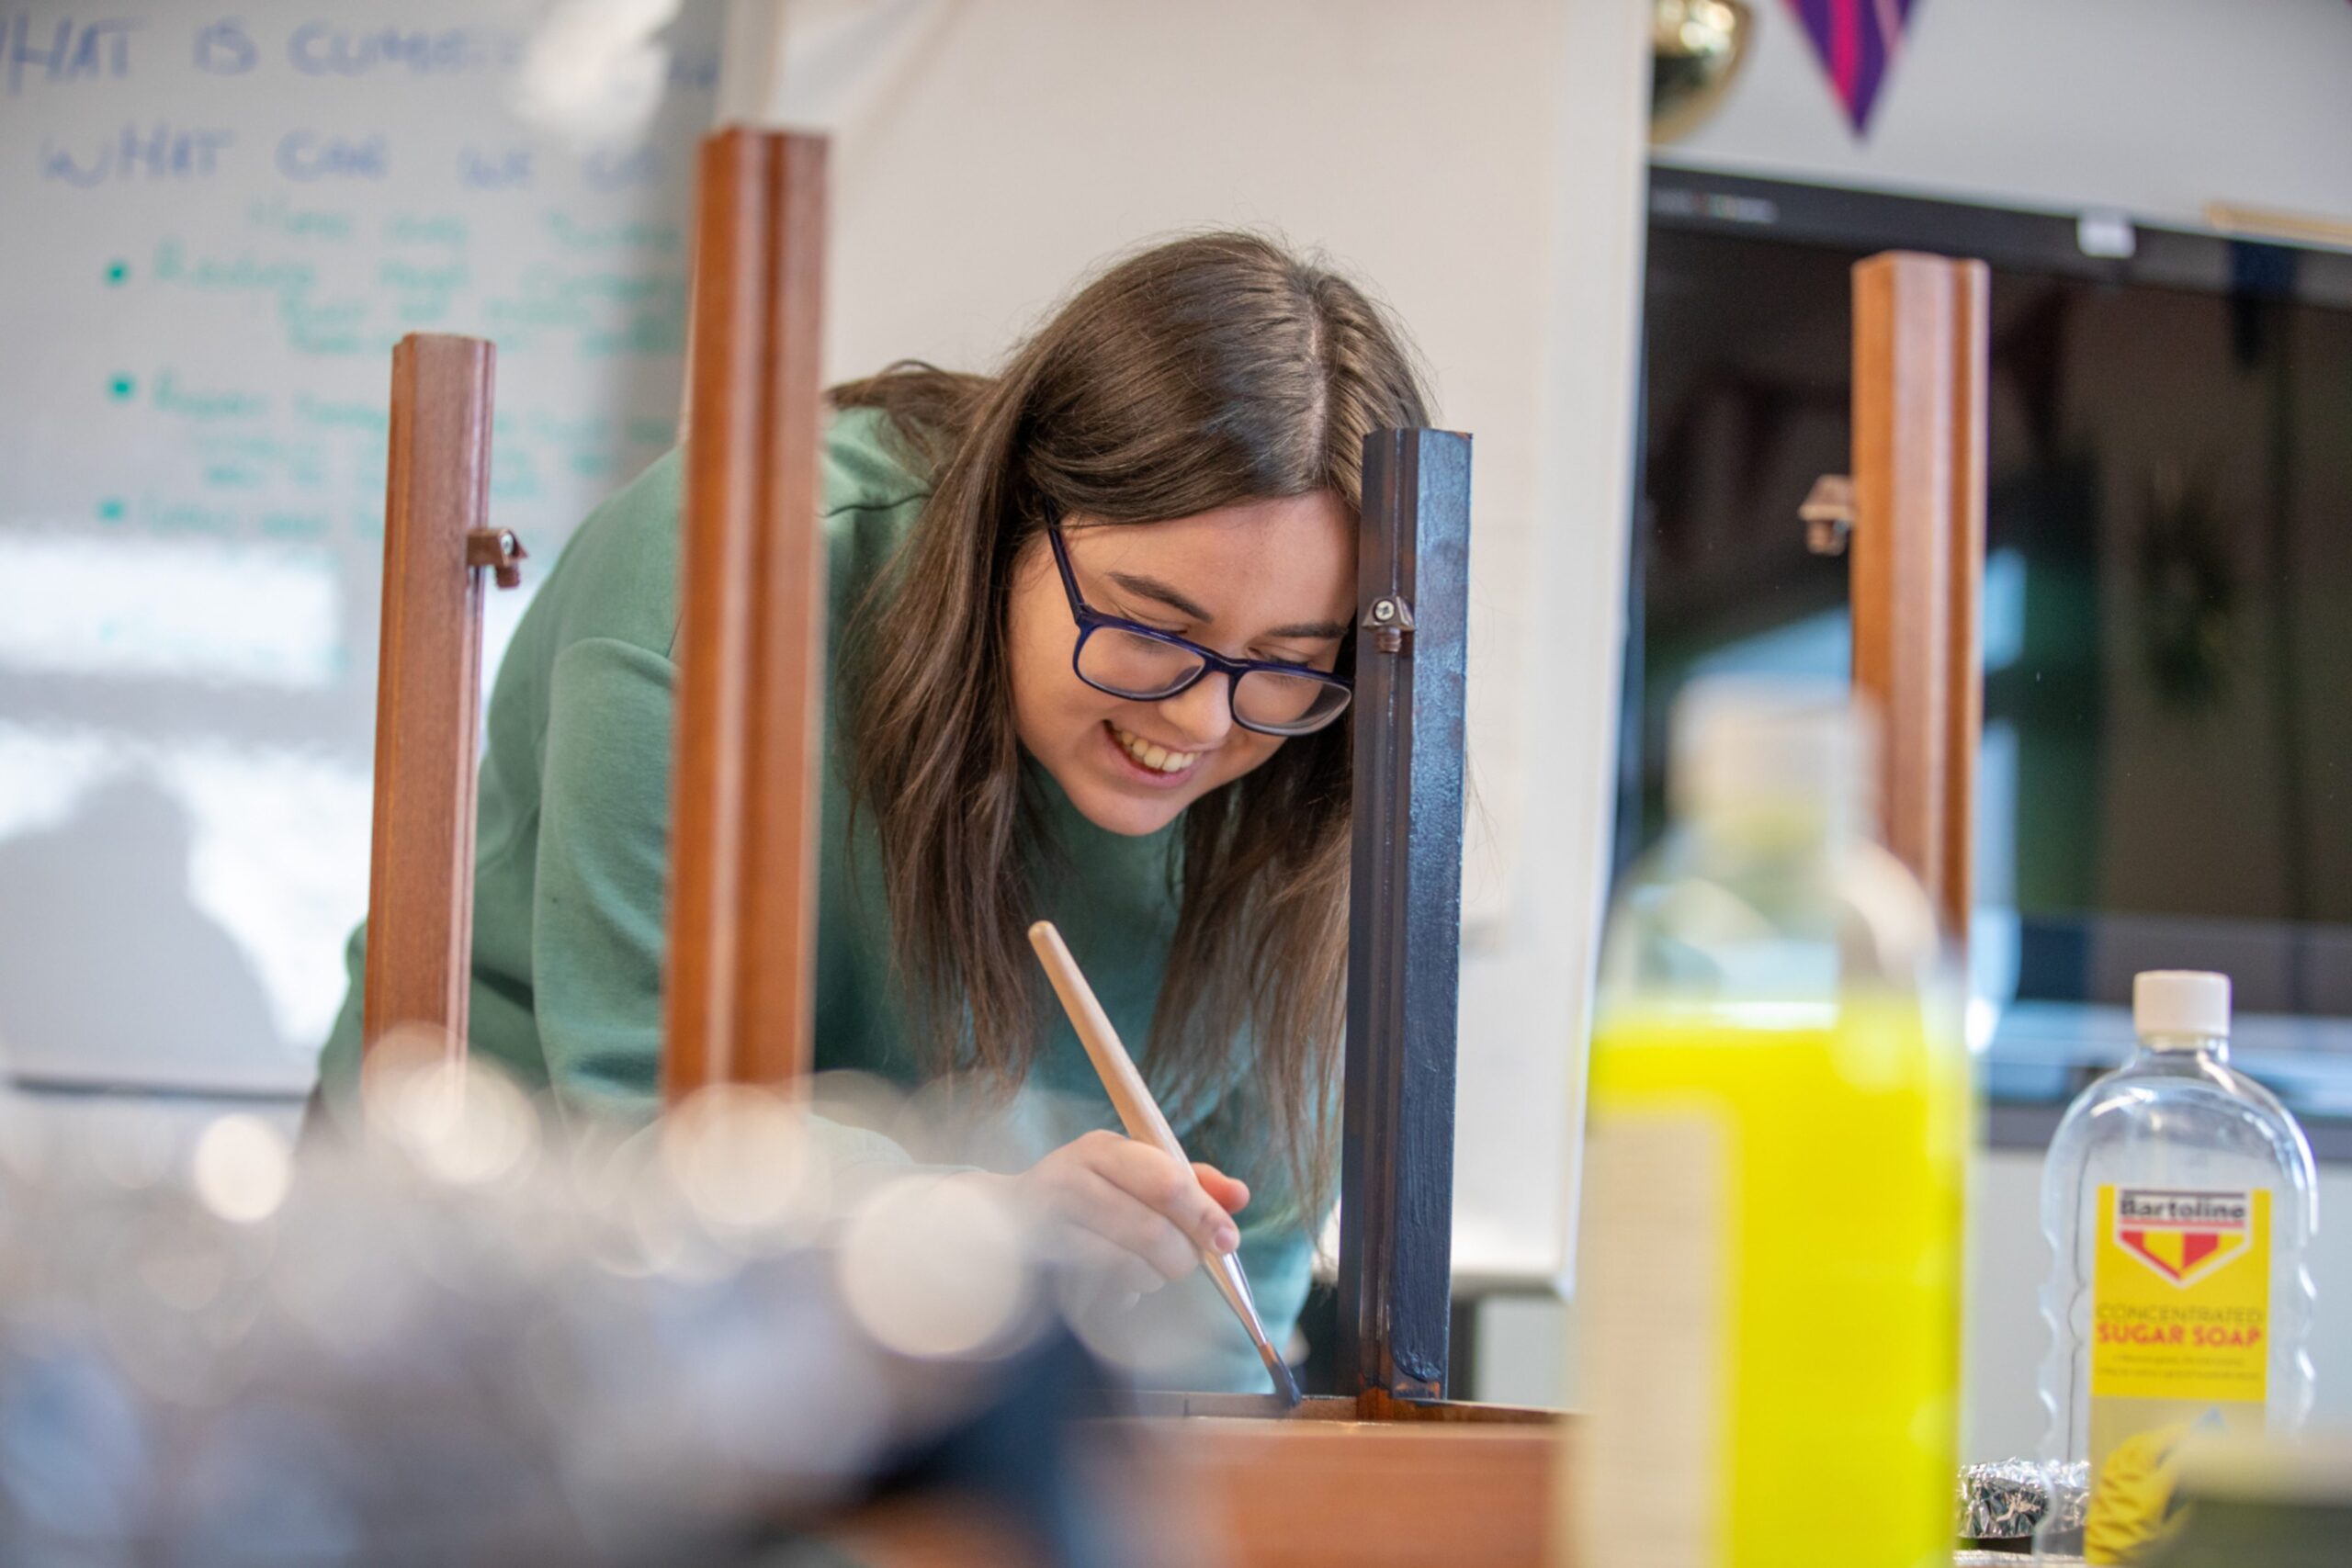
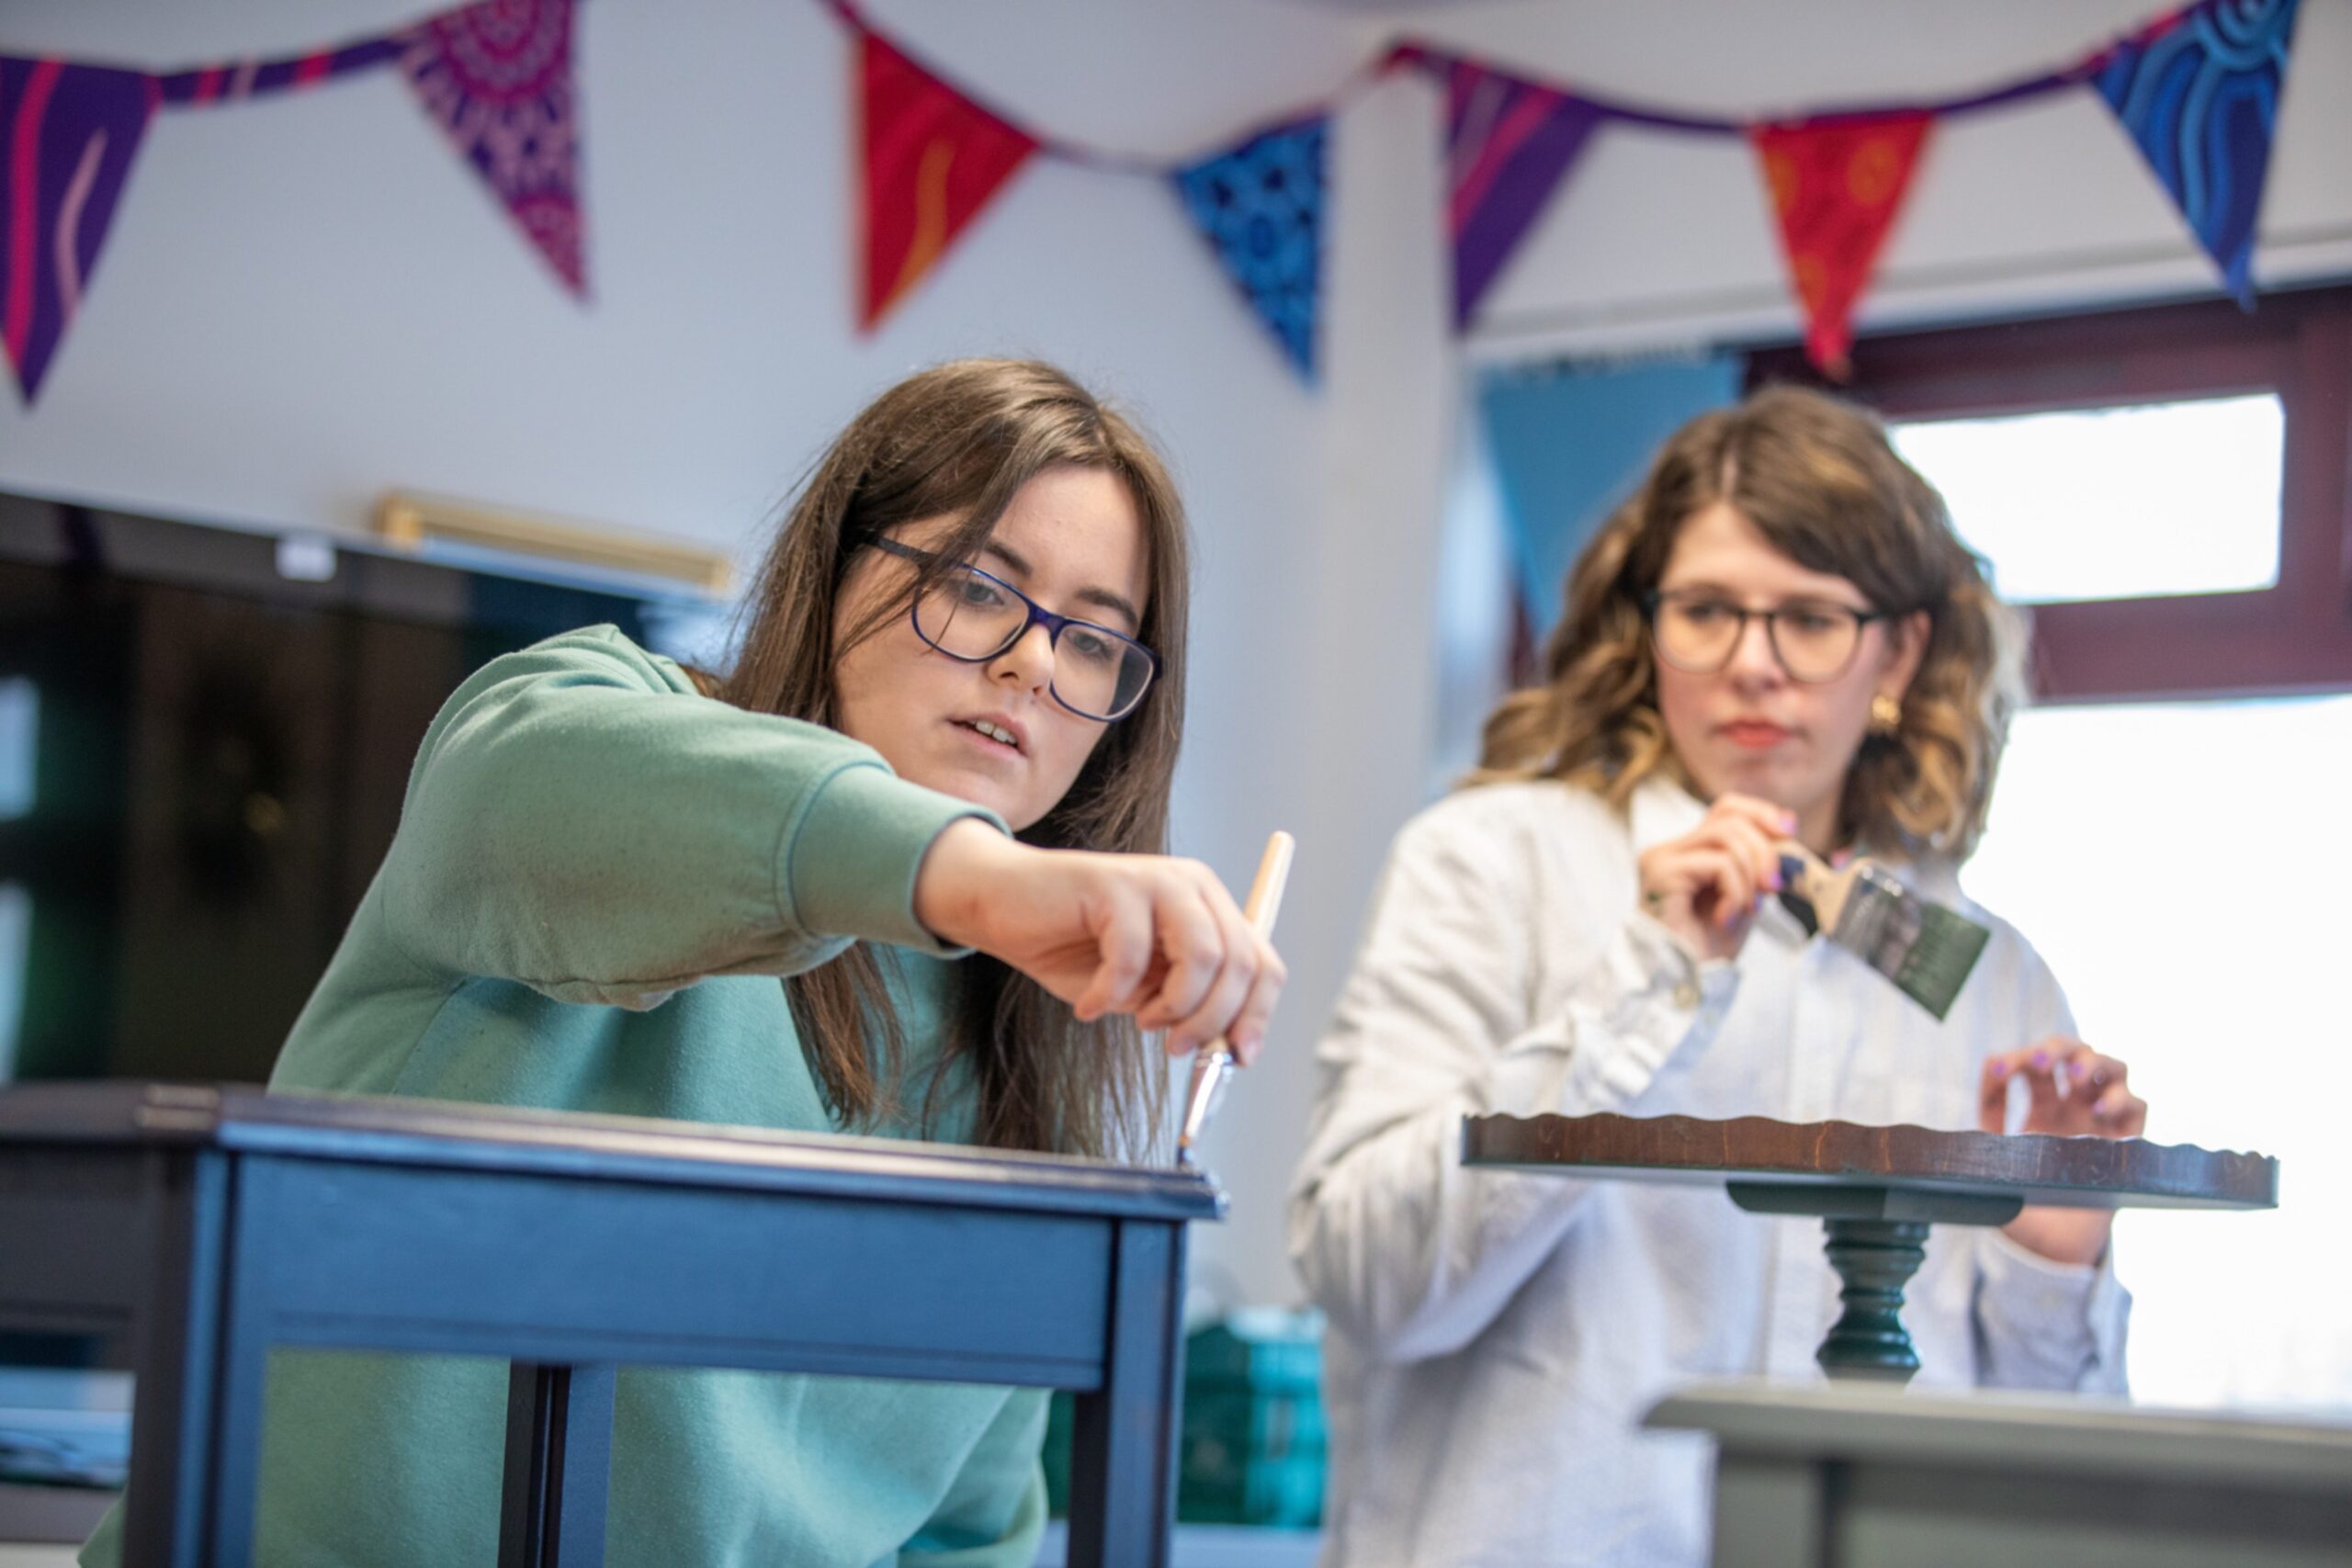
I choose the green and Isla goes for blue.
Our teacher effortlessly keeps the conversation flowing with all of us, while keeping a close eye on our progress.
And she continues to arm us with useful tips and tricks, from advising us to always place furniture upside down when we start painting (to avoid unnecessary muck and markings on the top), to using our phone torches to see if our brushstrokes are even.
My dark green paint goes on like a dream and, even after just one coat, the side table is already looking well on its way to total transformation.
I immediately feel excited. I actually start to believe that I might be able to become an upcycling expert, like Caroline has been telling me from the start.
Isla is wielding her paintbrush with confidence, and she’s keeping up with me, even though her table is much bigger than mine.
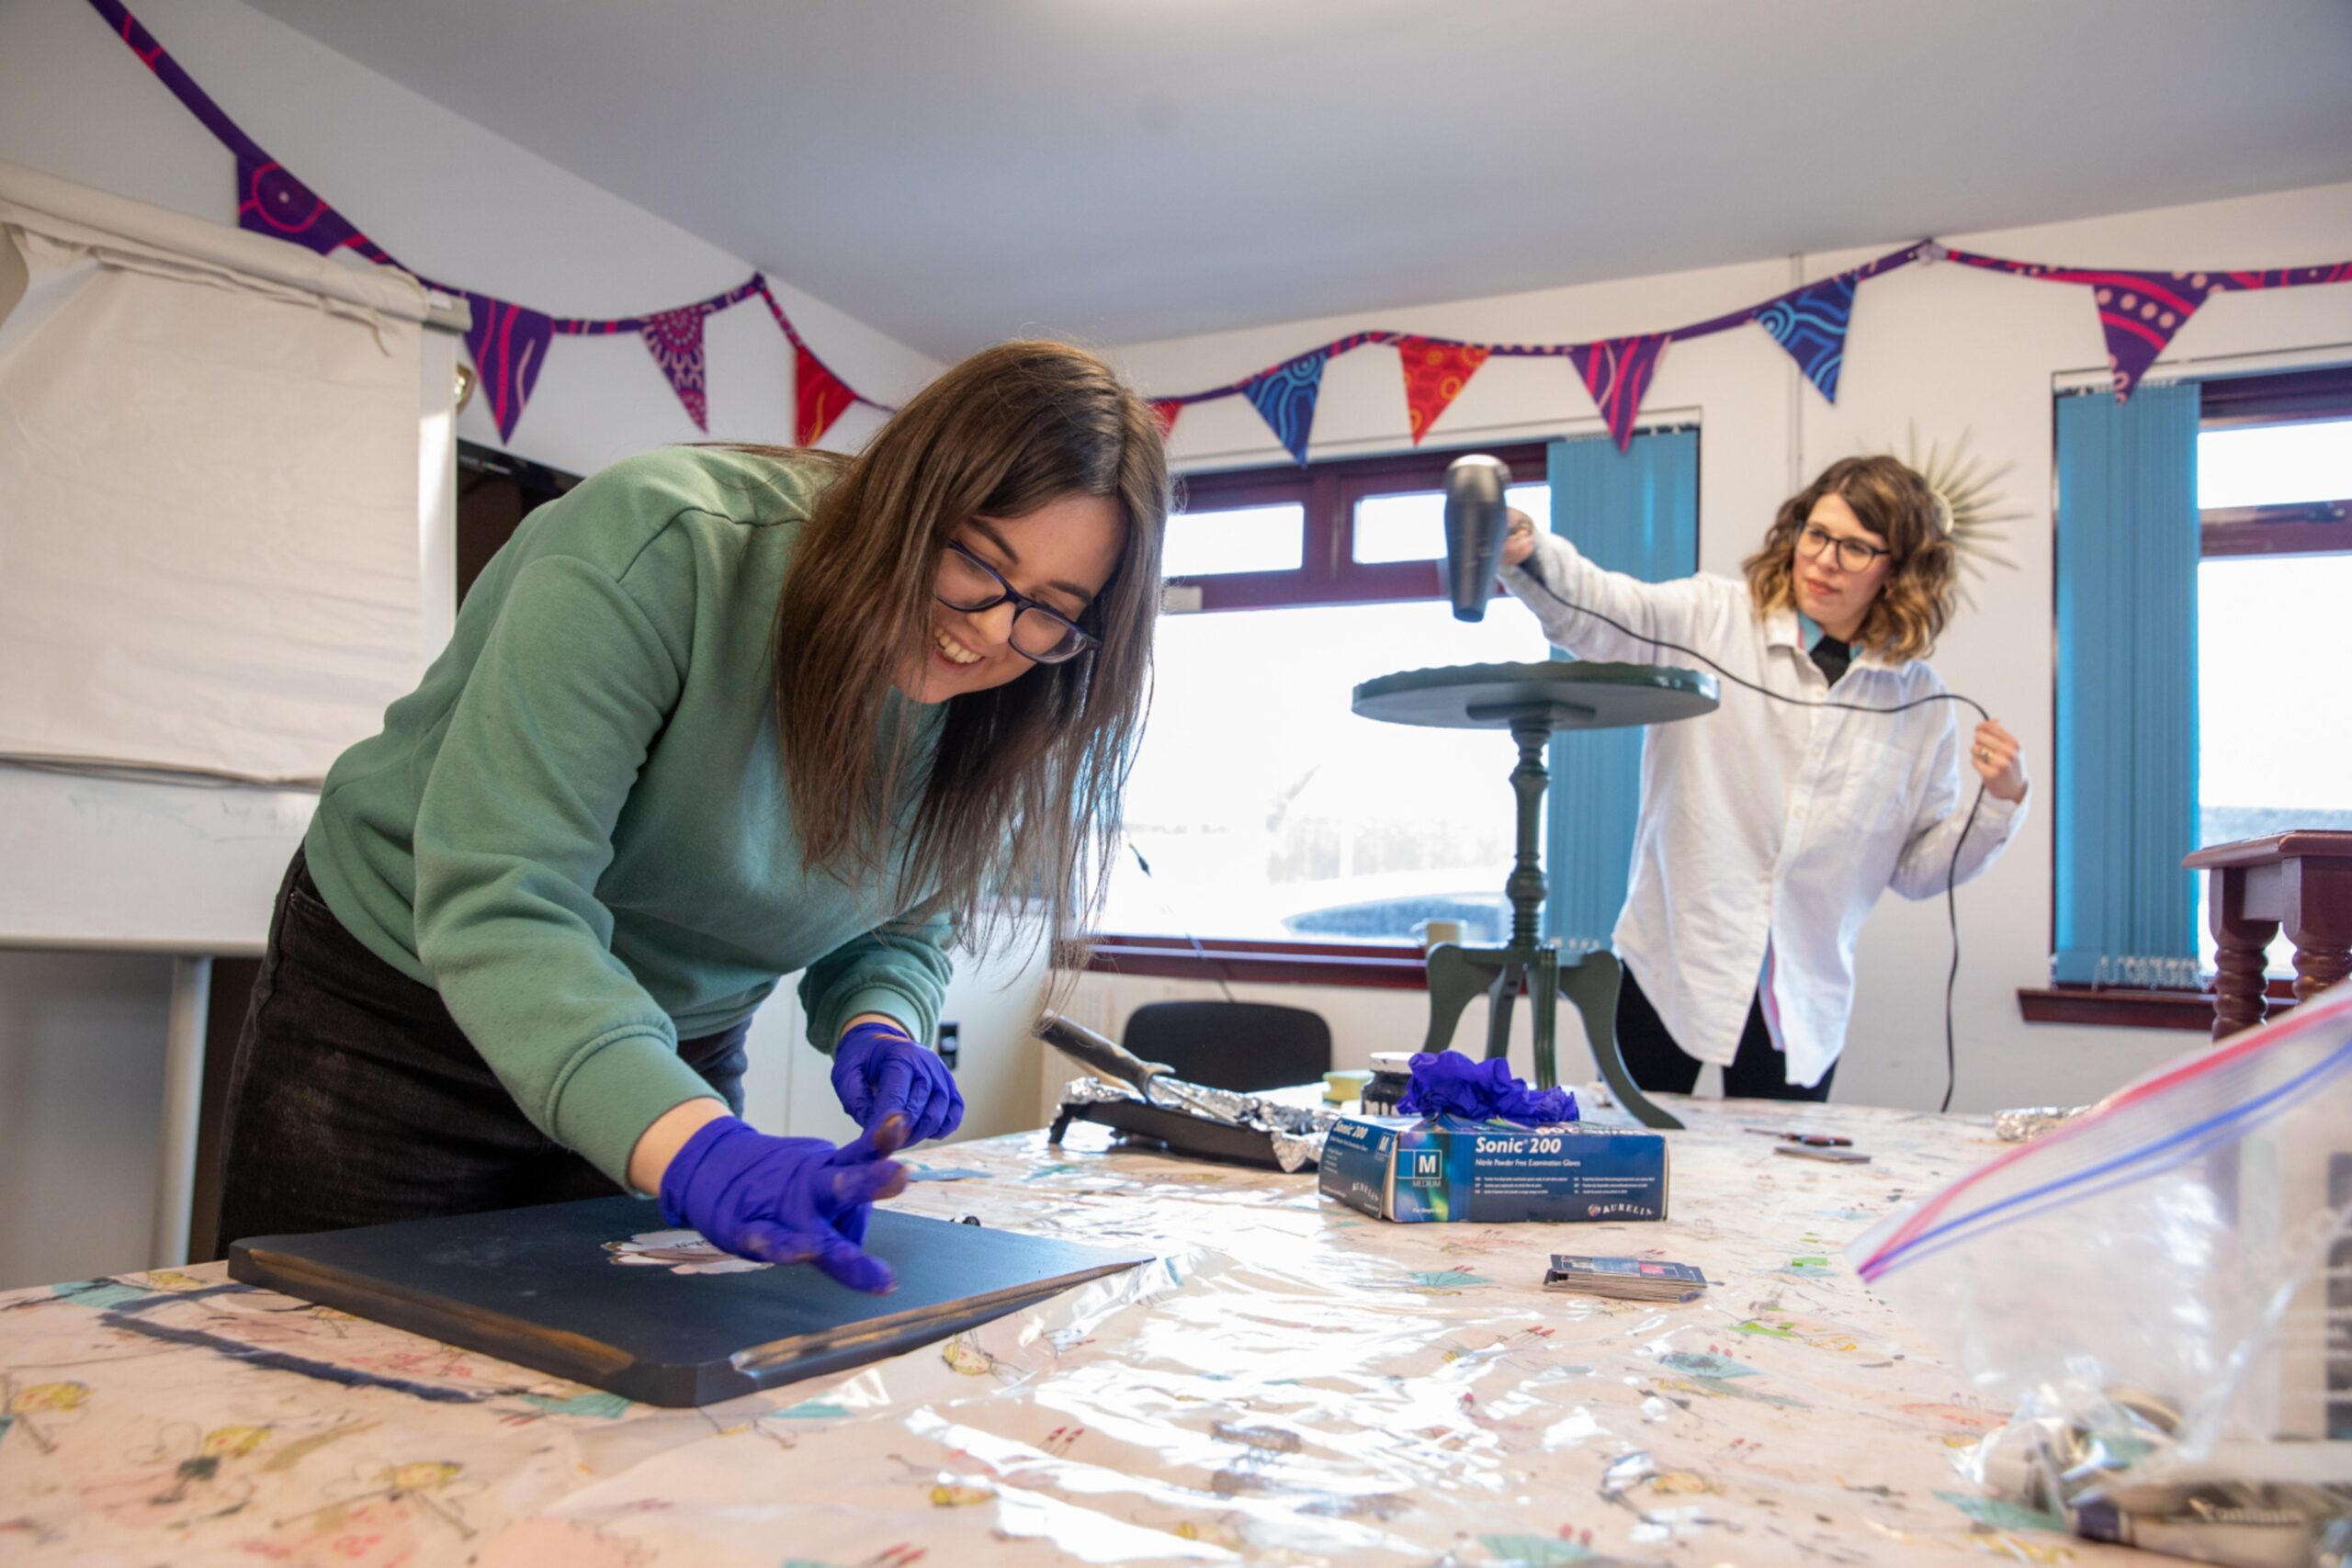
Since our time is limited, we use hairdryers to dry the paint between coats and, before you know it, our tables are fully painted.
Caroline shows us her stash of coloured waxes and suggests we add a little fancy pop of gold or silver to our pieces – which I do, around the edge of my tabletop.
The gold wax is highly-pigmented and a little goes a long way. I’m surprised how easy it is to apply, and I’m chuffed with the effect.
Final finishing touches
But I’m not out of the woods yet.
For the whole morning, I’ve been silently worrying about the last step of the upcycling process – the finishing touches of decoration.
All of Caroline’s stunning upcycled pieces are embellished with flowers, animals, or seascapes that look hand-painted to me.
I know five-year-olds who can paint a better flower than I can.
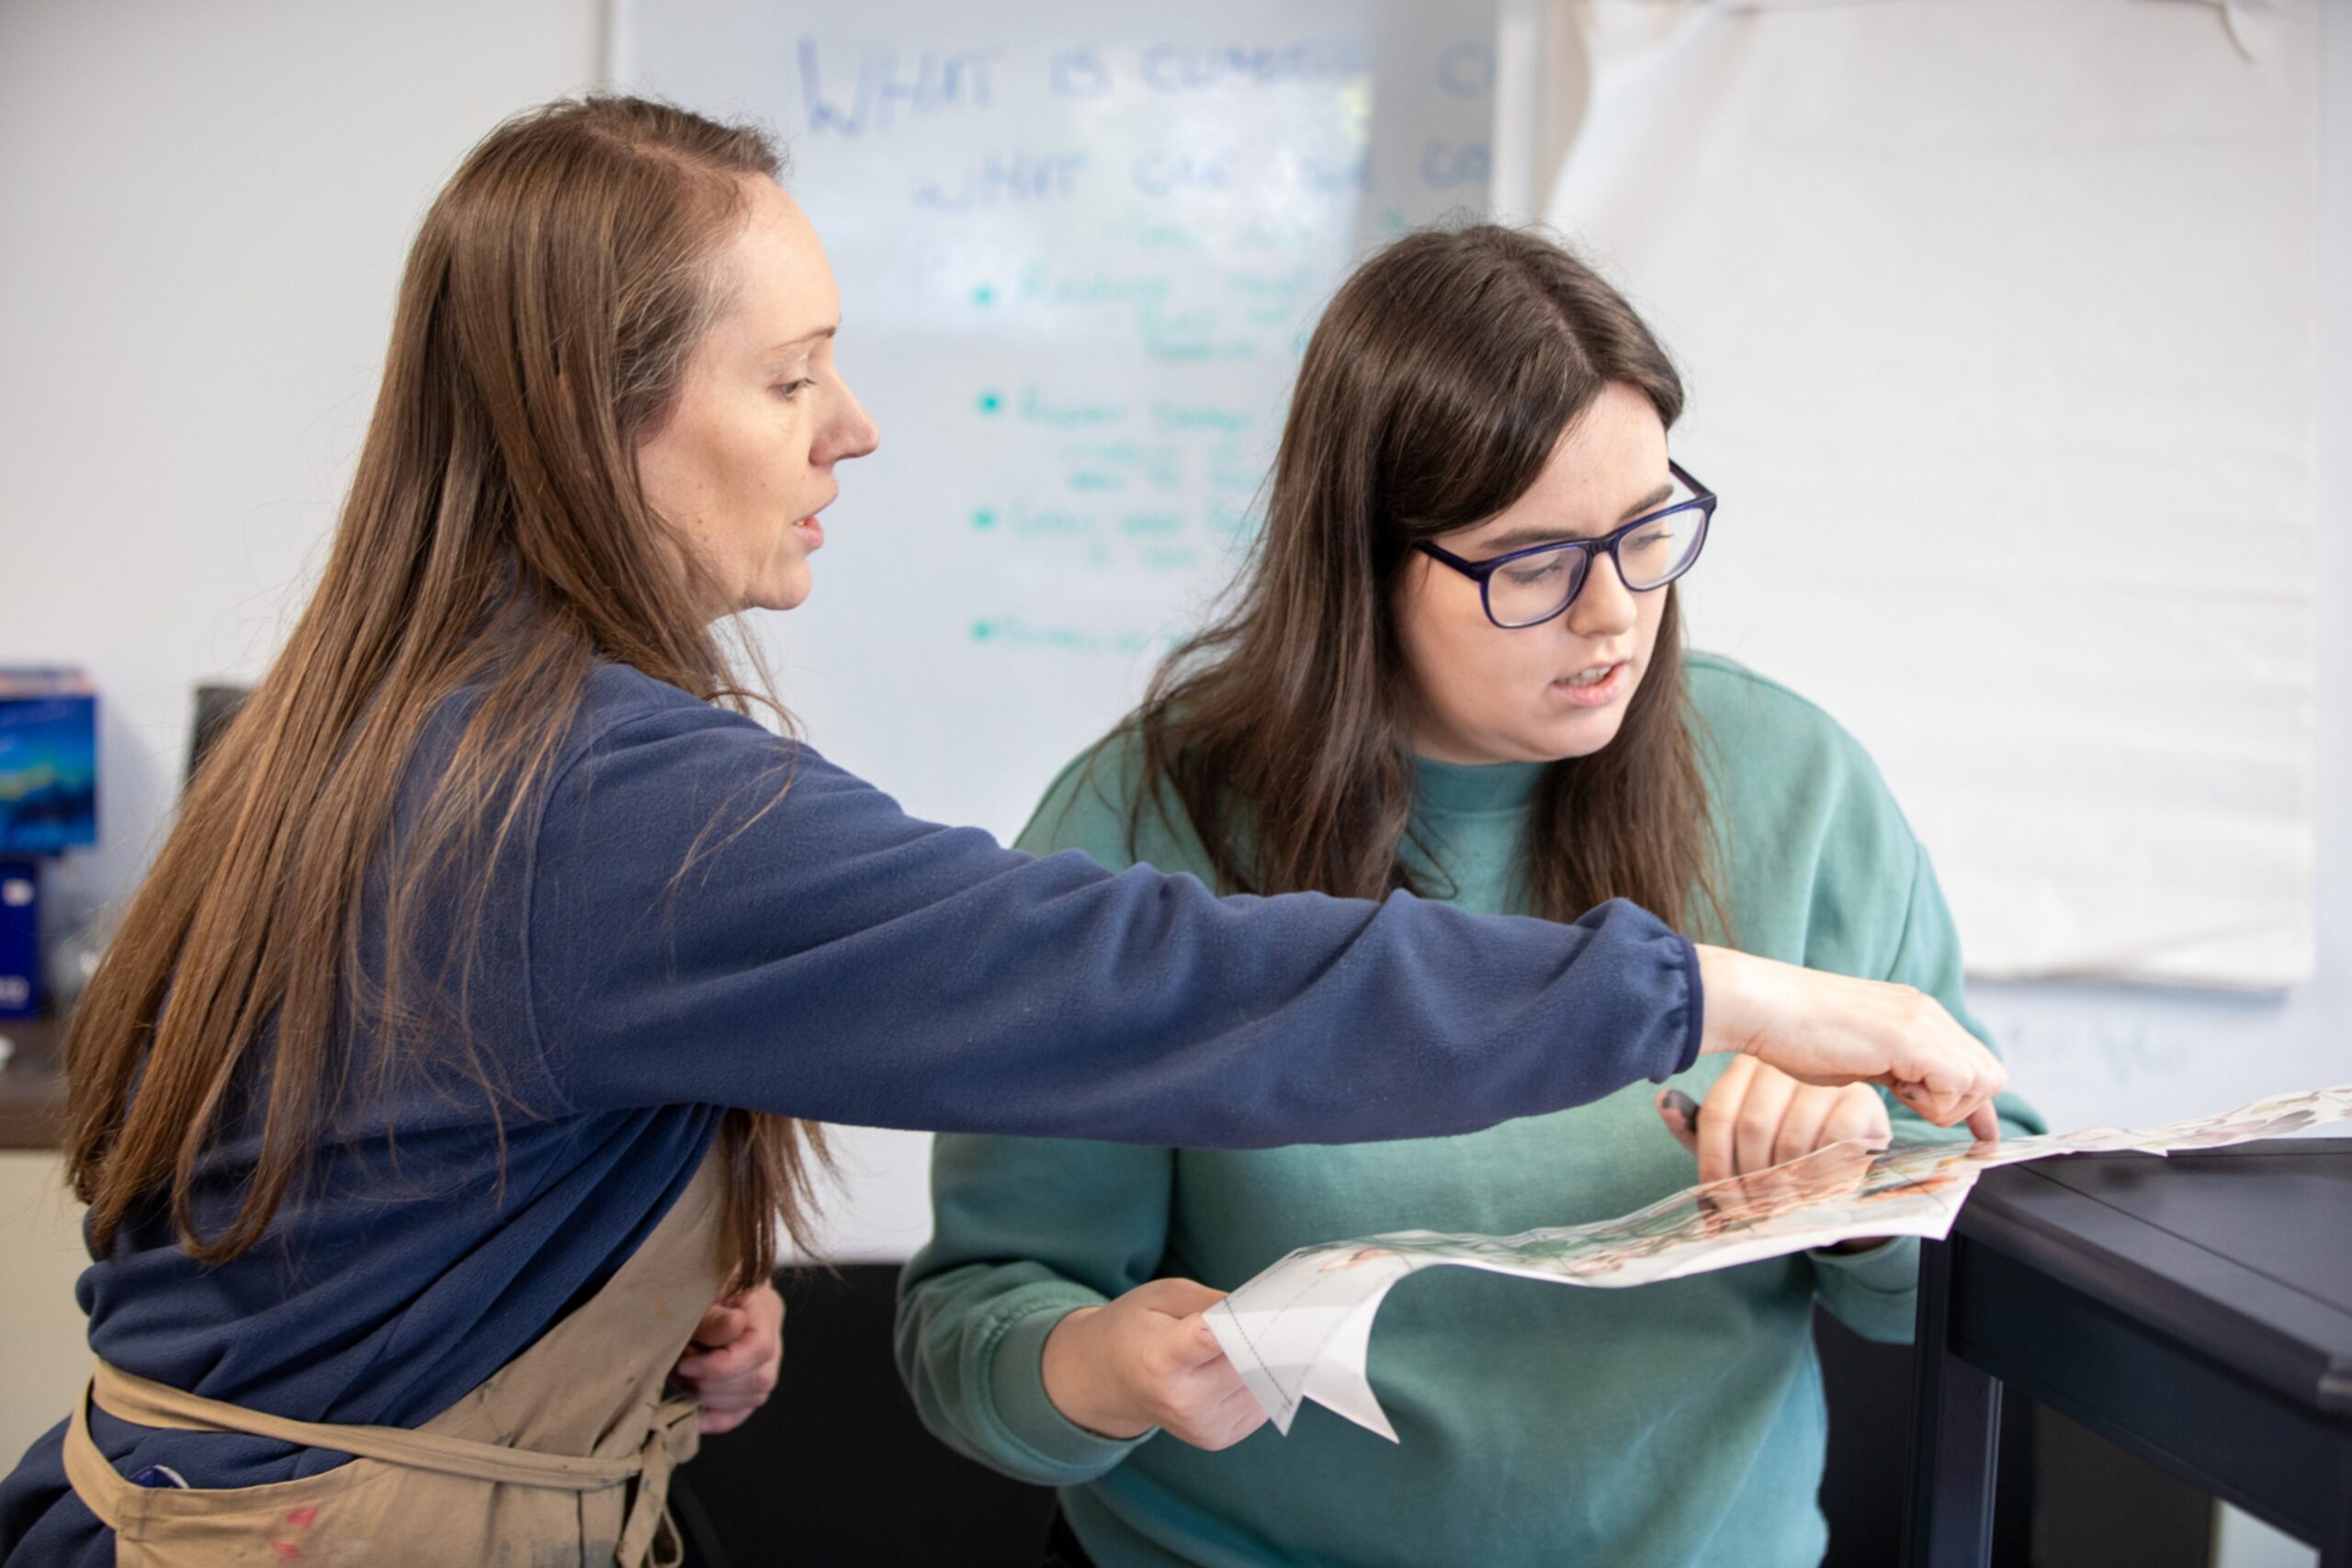
But I breathe a sigh of relief when Caroline reveals an amazing secret: she adds her flowers, animals and seascapes using transfers.
They’re similar to temporary tattoos. You choose your design, cut it out and then use careful pressure to transfer it onto your piece of furniture.
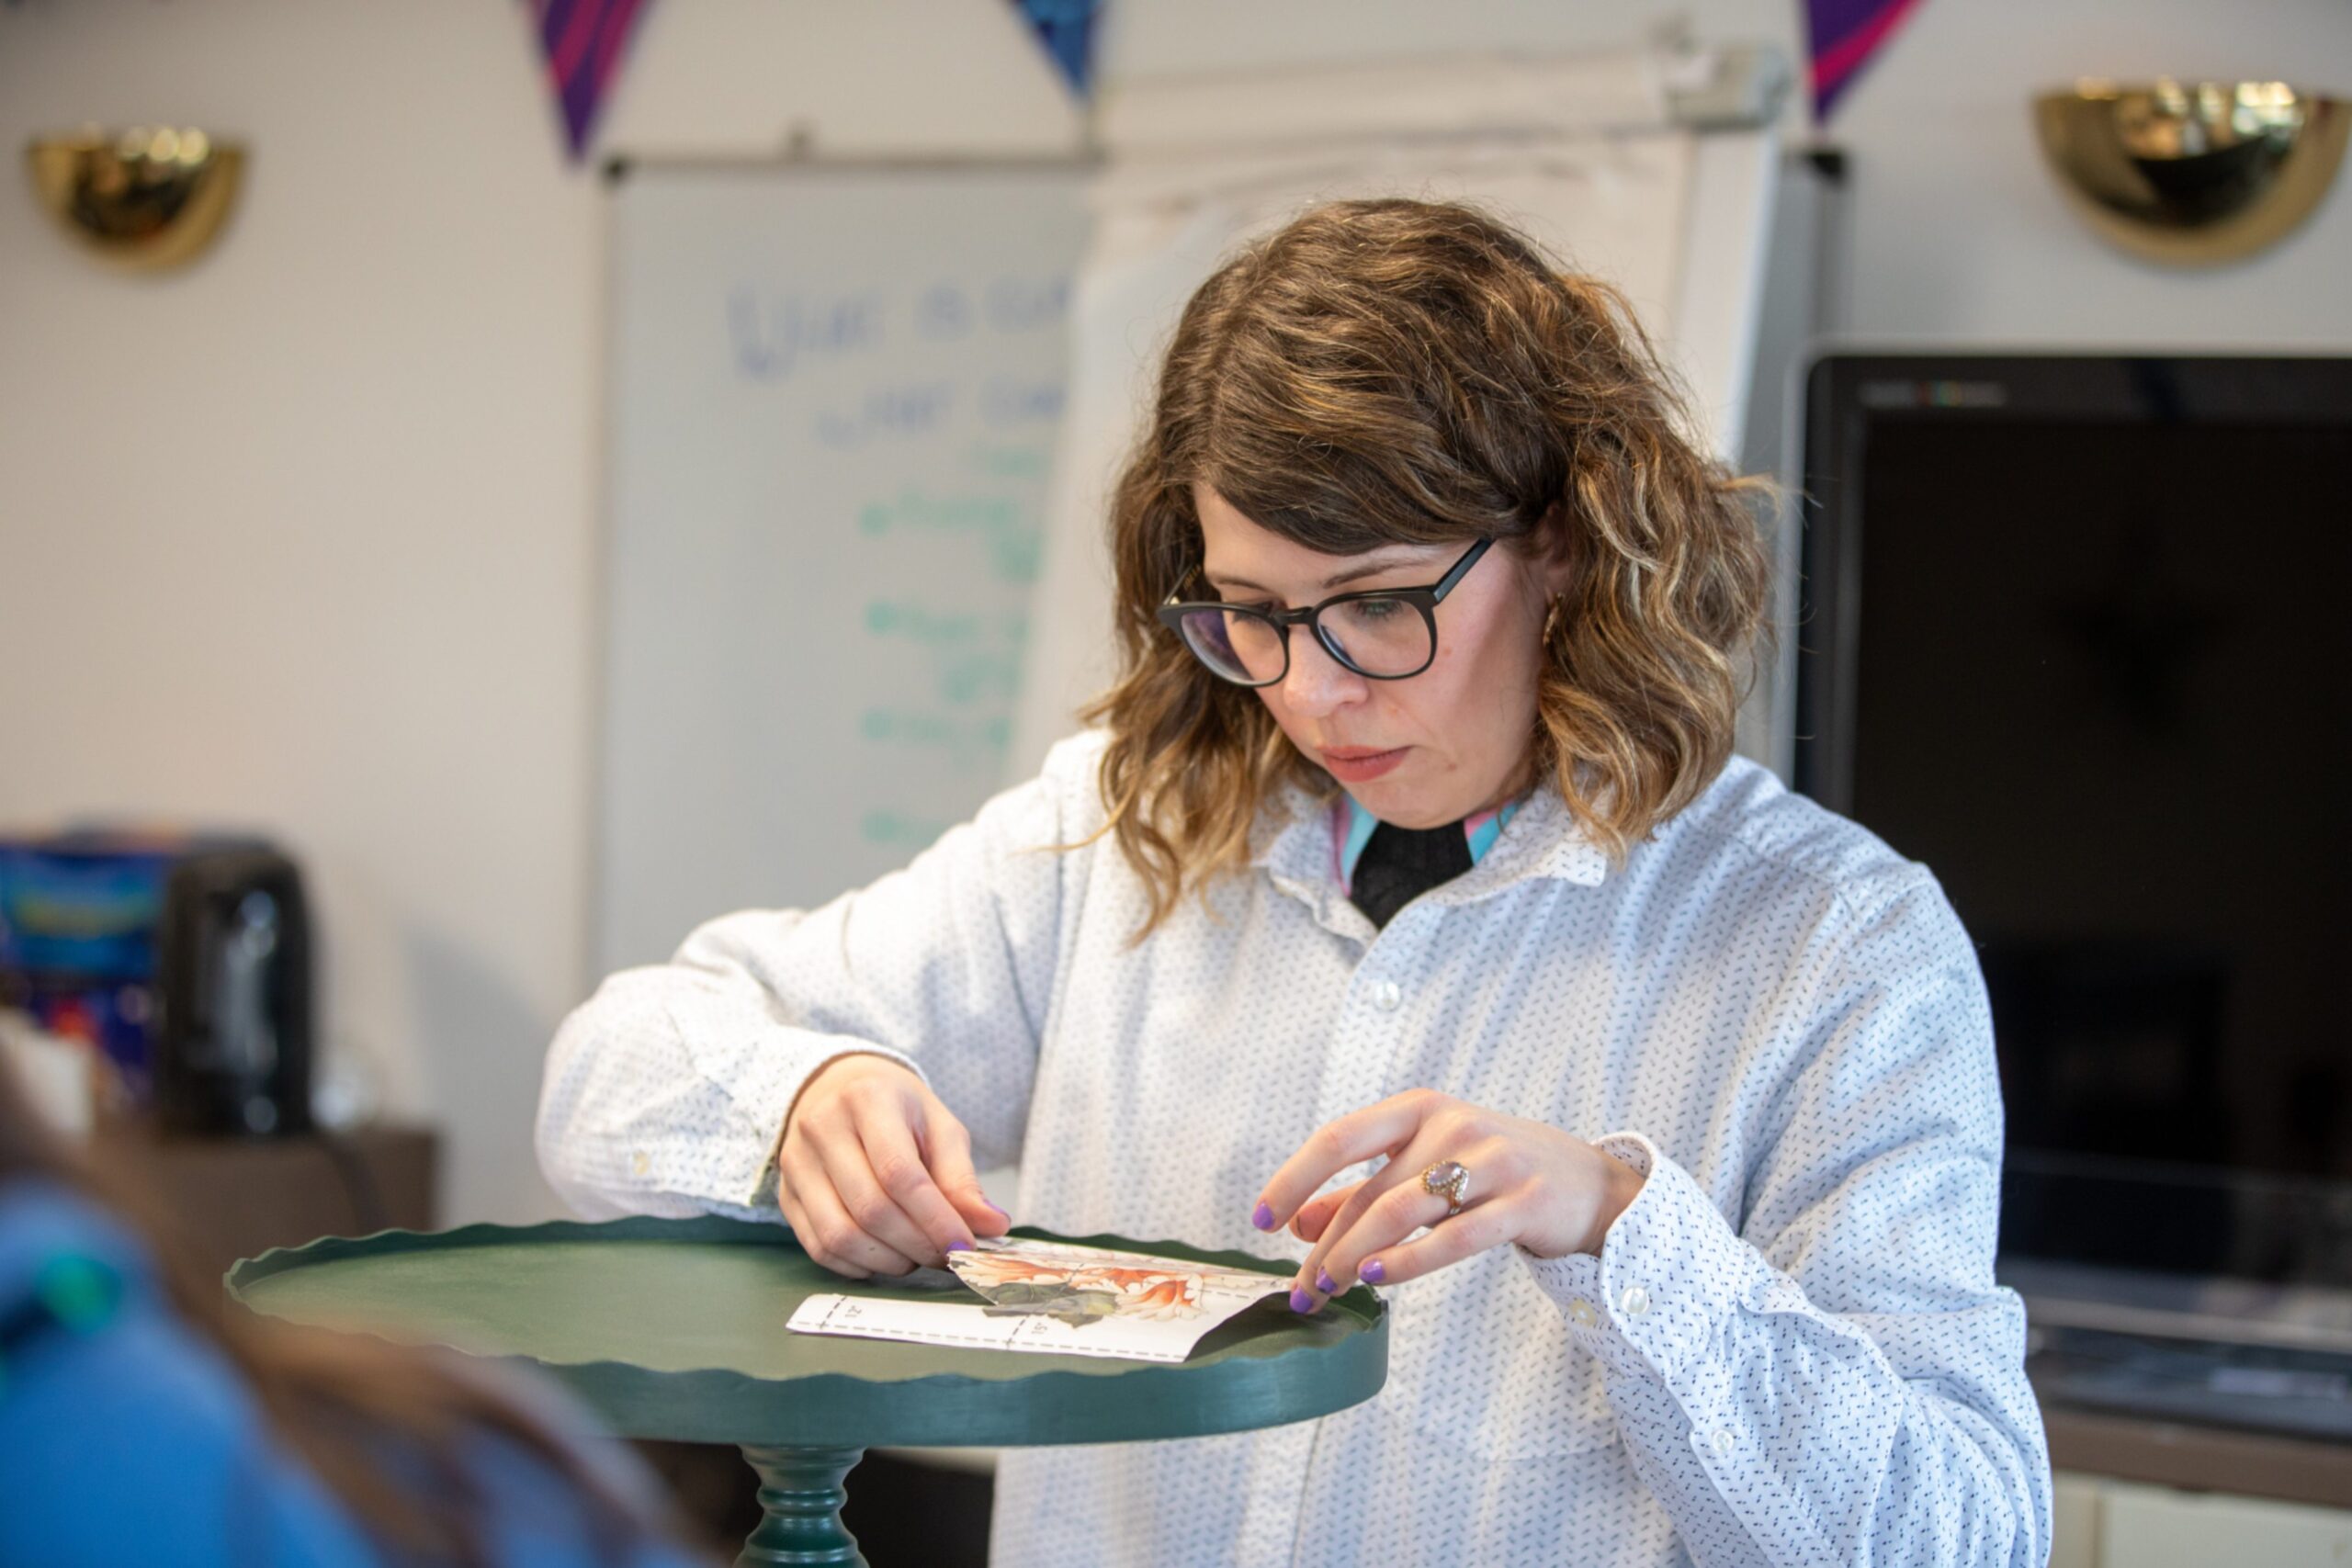
With patient guidance and encouragement, even I make a decent job of adding a lovely, vintage-looking flower to my table.
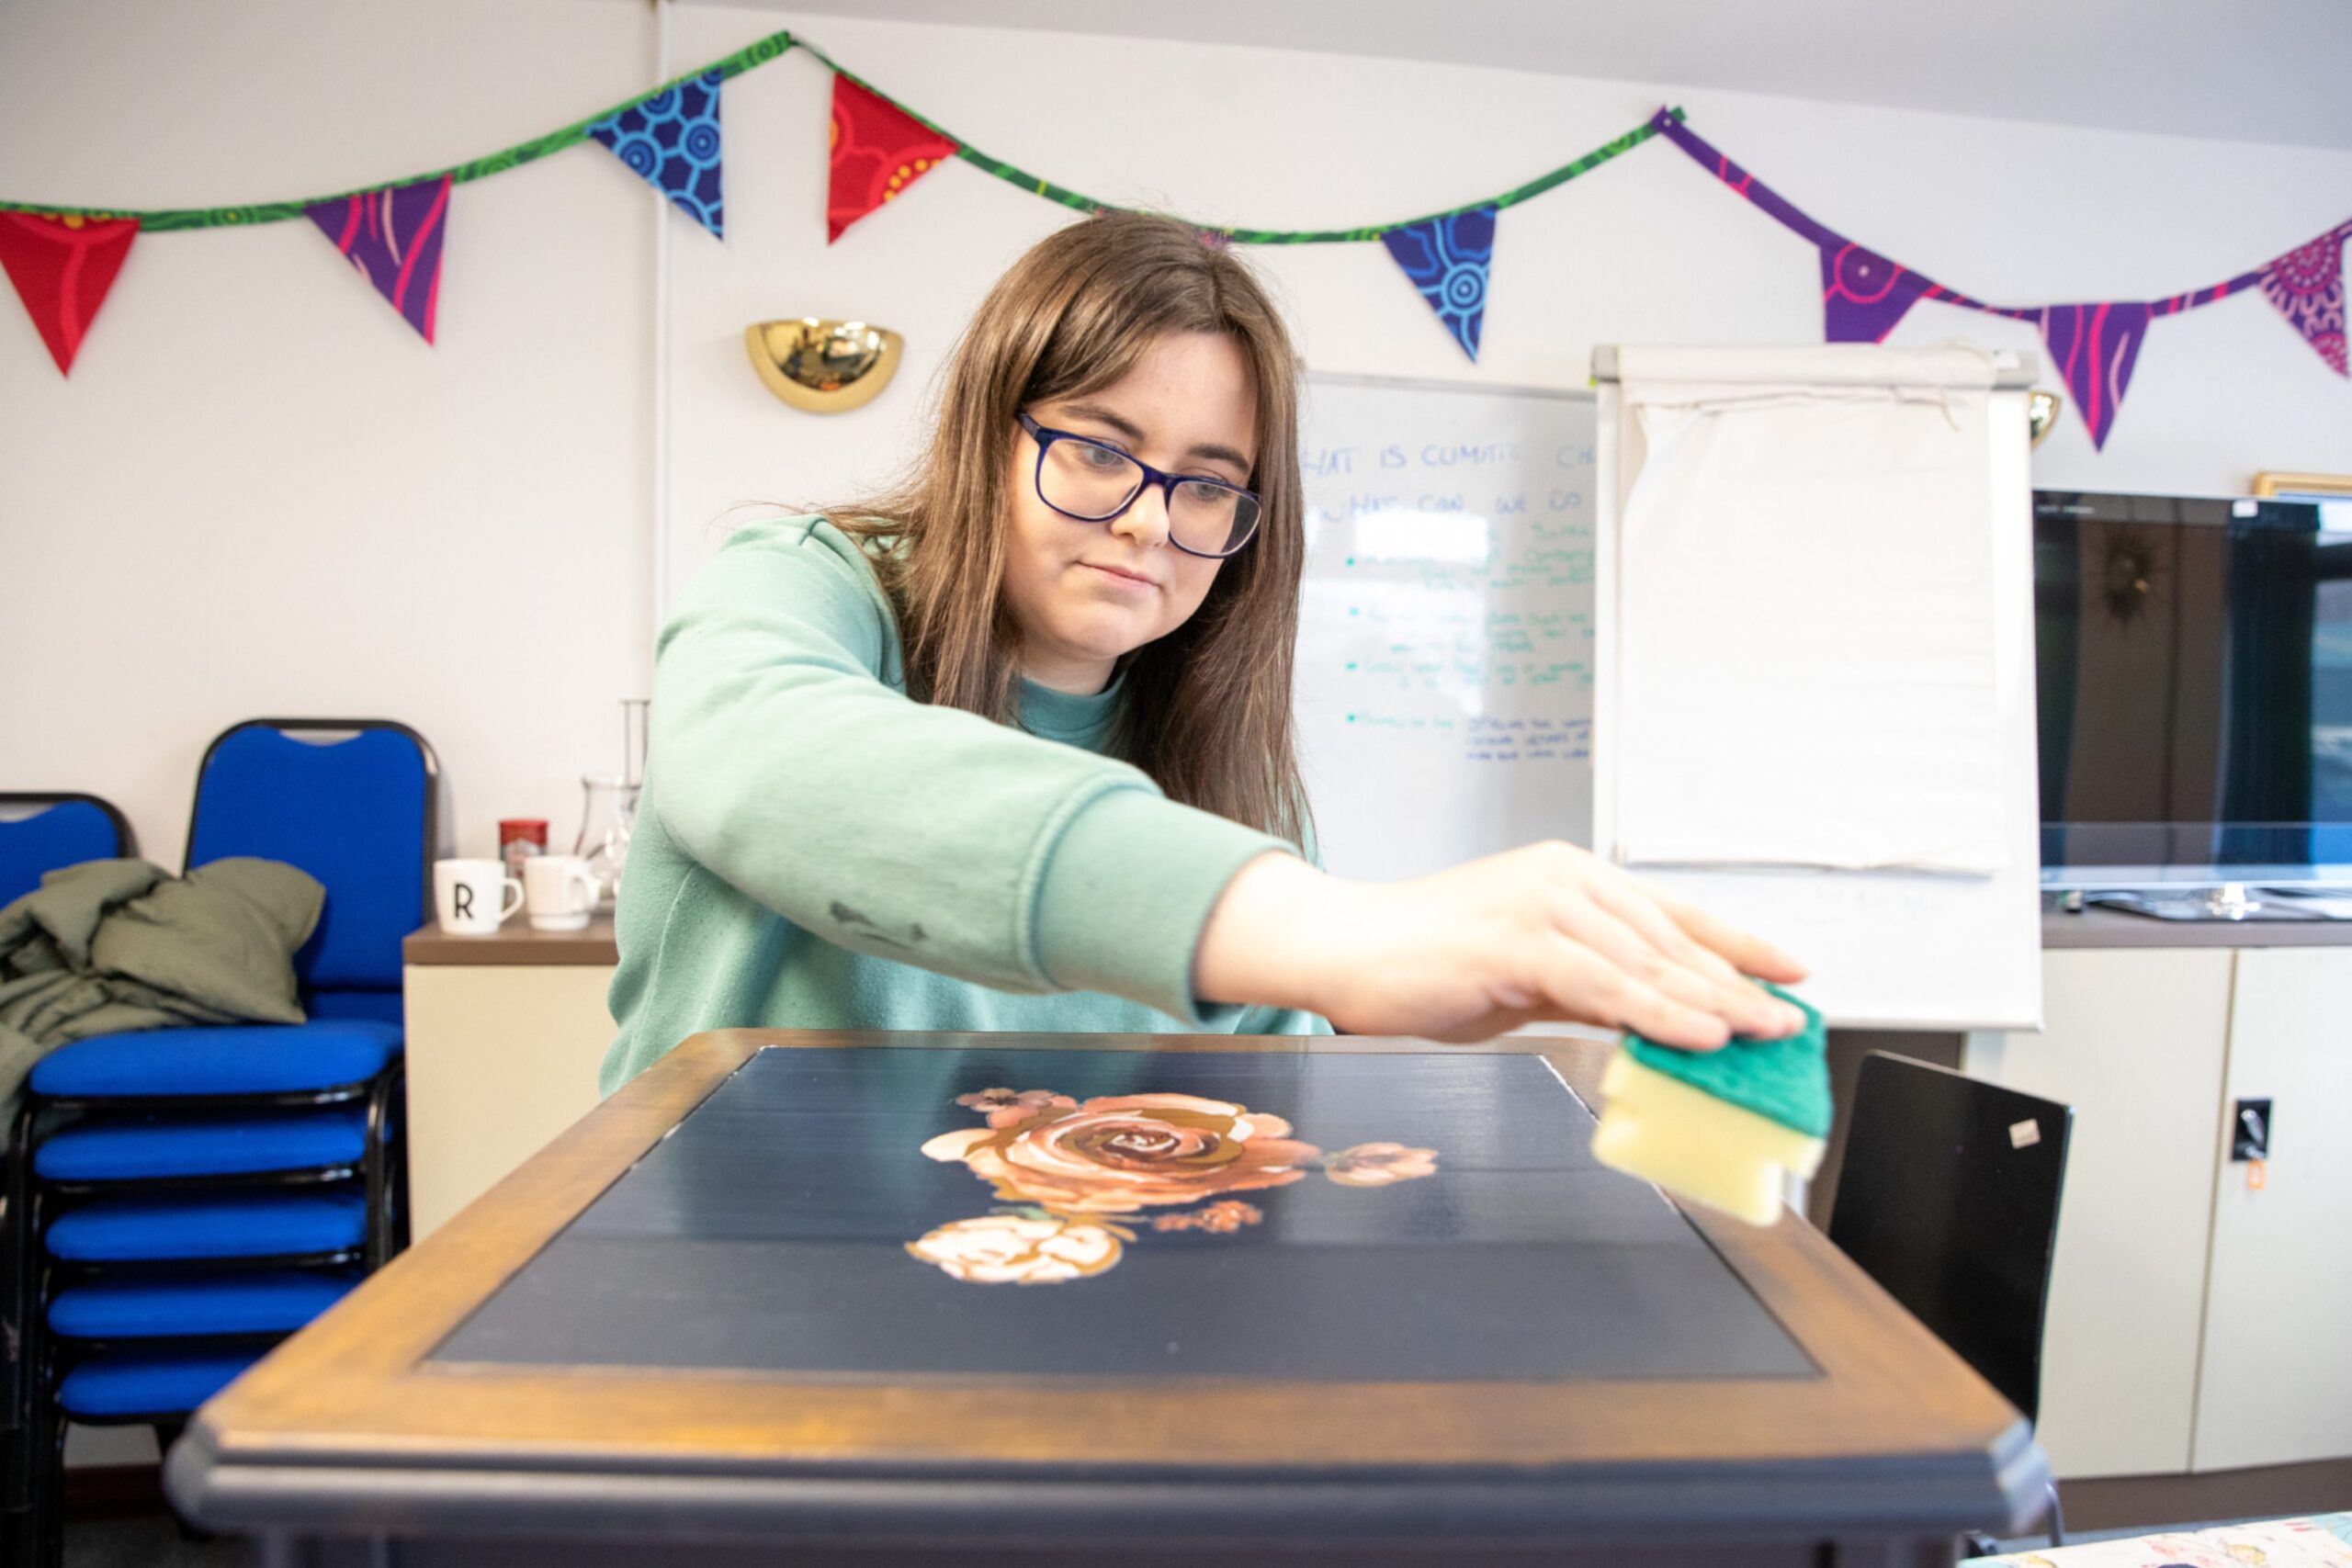
Then, we seal our paint and transfers with clear varnish and stand back to admire our handiwork.
An upcycling convert
I’m genuinely amazed at what Caroline and Stirling Reuse Hub helped me to achieve in just a few hours.
I still feel an immense sense of satisfaction when I look at the before and after photos of my table.
I get it now. I am an upcycling convert.
I leave with a smile, a nice new (to me) piece of furniture, and – most importantly, I think – new skills and knowledge that I can put to good use.
The experience sums up a lot of what is so fantastic about Stirling’s unique Reuse Hub charity, which helps so many members of the public and volunteers to live a better, easier and more beautiful life, sustainably.
If you’ve never paid it a visit, what are you waiting for?
- Stirling Reuse Hub’s furniture upcycling workshops cost £55 per person and can be booked online
For more Stirling news and features visit our page or join us on Facebook


Conversation