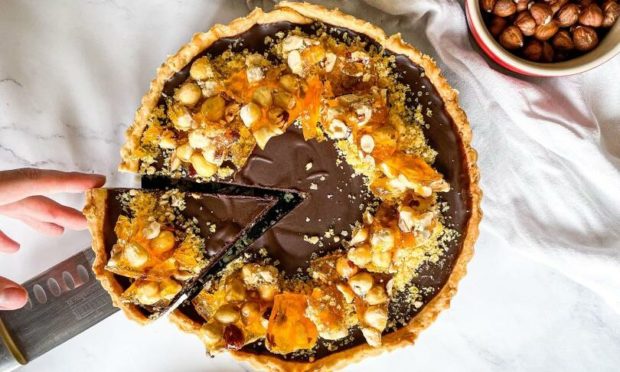
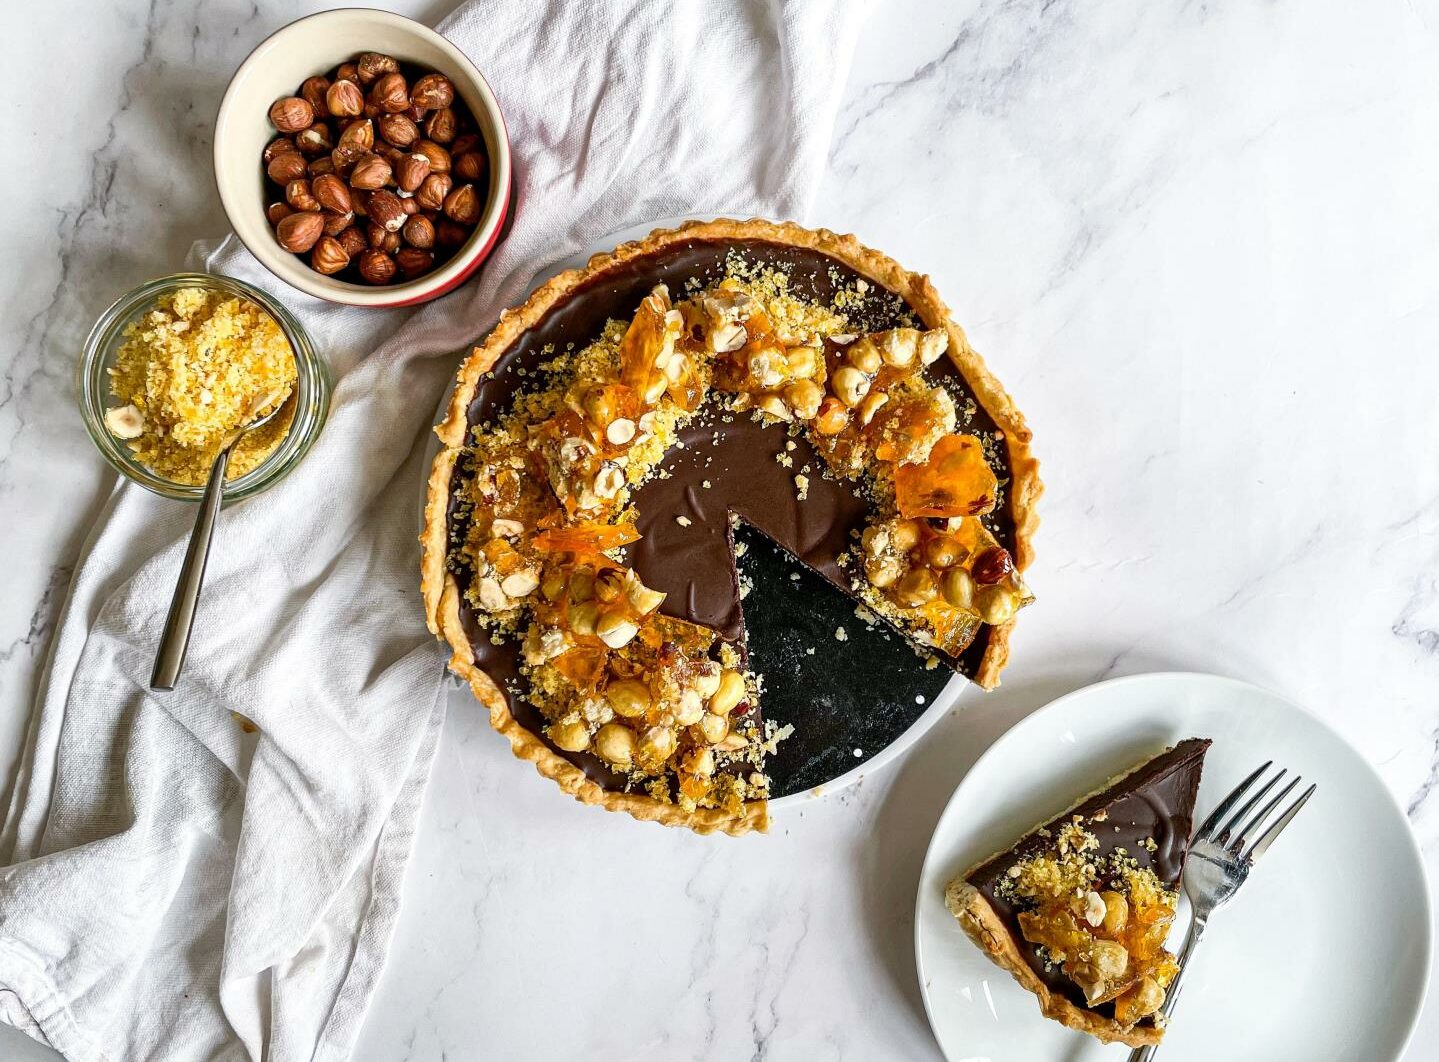
There really is just something about the combination of chocolate and hazelnuts that seems to set my world to rights.
This Ferrero Rocher-inspired chocolate and hazelnut tart is seriously decadent, without trying too hard to be too grown up.
That said, I think it makes a gorgeous dinner party or Sunday dinner dessert.
If you haven’t made praline or worked with hot sugar much before, don’t be afraid of it.
These steps are broken down a lot to walk you through it. However, I wouldn’t recommend that stage for getting smaller family members involved, although pastry making is a lot of fun for everyone!
If you’re short on time, feel free to buy shop-bought shortcrust.
The filling is a good balance of sweet and dark, so play with the ratio if you like very sweet/very dark chocolate flavours. Be warned, this may make about 10 slices, but people will likely want more.
The slices serving is recommended but by no means necessary, as in our home this sort of tart has been known to be devoured with forks in the tin.
A loose bottomed tin will make your life a lot easier here, and for the blind bake I tend to use dried rice rather than baking beans – but anything dried (pulses/lentils/rice/pasta) will work. Just ensure it isn’t touching the pastry!
Ferrero Rocher-inspired chocolate and hazelnut tart
(Serves 10)
Ingredients
For the pastry (for 325g shortcrust):
- 220g butter, cold and cubed
- 100g plain flour
- 3 tbsp water
- A little oil or butter to grease the tin
For the filling:
- 200g dark chocolate
- 100g milk chocolate
- 150ml double cream
- 75g butter
For the hazelnut praline:
- 100g hazelnuts
- 225g granulated sugar
- 6 tbsp water
- ½ tbsp butter
Method
- Start by making the pastry, if making your own. Add the butter to the flour and rub with your fingertips until the texture resembles breadcrumbs (alternatively, this can be done in a food processor). At this stage, add in the water until a dough forms. Wrap in clingfilm and chill in the fridge for 15 minutes.
- Preheat the oven to 180C Fan/200C/400F/Gas Mark 6. Lightly grease a 23cm loose bottomed tart tin with oil/butter.
- Roll the pastry to about 1-2cm thick, enough to cover the tin. Press to the edges and cut off any excess around the edges.
- To do the blind bake: Place a circle of greaseproof paper on top of the pastry – enough to go up the sides. Add in baking beans/uncooked rice so that the base is entirely covered and weighed down.
- Bake for 10 minutes, before removing the paper/beans/rice, then bake for a further 5-10 minutes, until the pastry is just cooked and lightly golden.
- While the pastry is baking, add the hazelnuts to a lined baking tray and toast for 10 minutes. Remove and set aside to cool on a wire rack.
- Once the pastry is baked and cooled, make the chocolate filling. Do this by chopping all the chocolate really fine and placing into a heatproof bowl.
- In a small saucepan, heat the cream and butter together on a very low heat, until the butter has melted and bubbles are just forming at the edges (very close to boiling but not quite). Pour this over the chocolate and let it sit for two minutes before stirring together – it will become a gorgeous shiny chocolate colour. Pour this into the pastry case and spread evenly.
- Shake your pan of hazelnuts about to remove the skins (you can also use your hands but they should easily fall off) and place into a small bowl. Line a large baking tray ready for the next step.
- To make the praline: add the sugar and 6 tbsp water to a medium saucepan over a medium heat. Keep an eye on it but do not touch/stir – let it sit on this heat for 10-15 minutes, until it turns an amber colour. At this point, swirl it very gently, then tip in the hazelnuts and butter. Stir together and pour onto the lined tray. Let cool.
- Once cool, add half of this sugary/caramel hazelnut mix to a food processor (or smash with a rolling pin) to create a dust. Sprinkle this dust in a circle over the tart. Break up the remaining praline into big chunks and place at various points on the tart.
- Slice and serve. Whipped cream makes for good pairing, but is not at all necessary. Enjoy!
For more recipes, click here, or check out Florence’s website or Instagram page.

