Baking is something we’ve all likely mastered by now, but just in case you missed them, we revisit three recipes shared during the first lockdown which proved a hit with audiences.
Well, here we are again on a full lockdown for the second time in less than a year.
With our baking skills pretty much at expert level after resorting to spending more time in our kitchens, we’re yet to find out what the new home-baking trend will be this time around.
In the spirit of baking at home, we’ve looked out three of our most popular recipes, so if you didn’t get the chance to give them a go last time, now’s your opportunity to hone those culinary skills.
Banana skin loaf
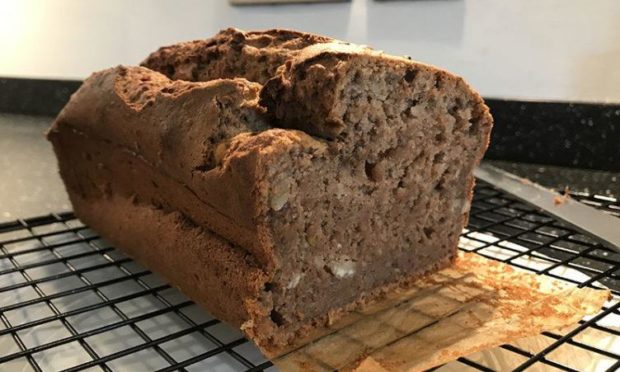
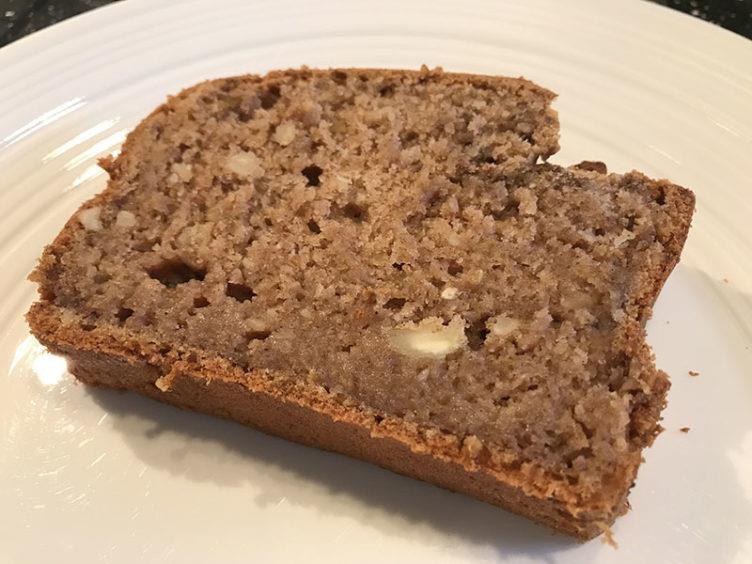
You may have heard of the traditional banana loaf craze that swept the nation during the first lockdown from March to July last year, but did you know that you can also use the banana skins in your baking endeavours? One of our team, Clare Johnston, took matters into her own hands and made a traditional banana loaf while keeping the skins on – and it turned out to be delicious. Have a go at the recipe below.
Ingredients
- 100g unsalted butter, softened
- 2 large ripe bananas (or 3 smaller ones), washed with ends trimmed, roughly chopped with peel on
- 90g golden caster sugar
- 3 eggs
- 1 tsp vanilla extract
- 210g self raising flour (you can use gluten-free self-raising flour in the same quantity)
- 1 tsp baking powder
- 1 tsp ground cinnamon
- 70g walnuts or pecans
Method
- Blend the ingredients together in a mixer and bake in a loaf tin (200°C, 180°C fan) for around 50 minutes or until a skewer comes out clean.
- Line the bottom of the tin with greaseproof paper and grease the sides with a little butter.
Ice-Cream Cake
Ice cream is just for the summer, you say? Well it doesn’t have to be, as I demonstrated with this recipe last May.
If your teeth are too sensitive to gorge on ice cream as much as you’d like but you’ve found one you like the flavour of, why not have a go at turning it into a cake or some muffins?
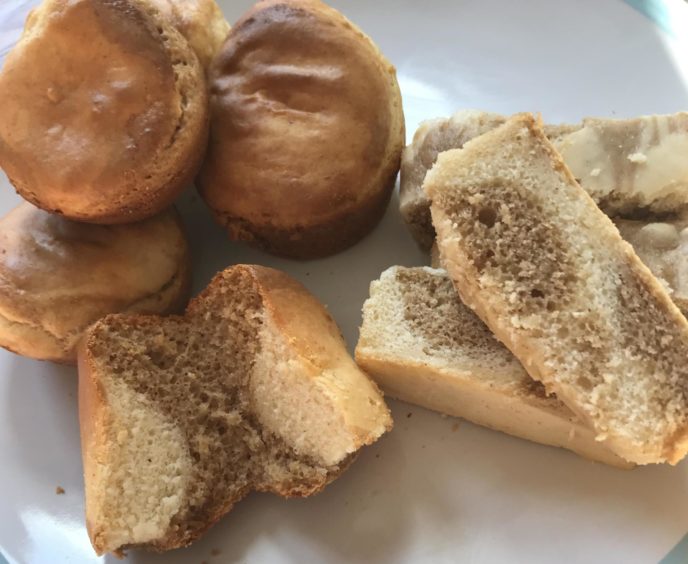
The cake pictured below used gluten-free flour so with normal flour the bakes will likely rise a little higher, but as the ice cream itself contains most of the ingredients you would usually put in a cake, that’s all you need, plus some flour.
Ingredients
- 150g of your favourite ice cream, at room temperature
(if you want to do a marble effect then you will need 150g of two different flavours and colours if possible) - 70g self-raising flour
(again, if doing marble effect, you will need 2 bowls of 70g flour, one for each flavour of ice cream you are using)
Method
- Preheat the oven to 180C.
- Prepare a muffin tray or loaf tin, depending on what form you want your bake to take.
- Place the ice cream in separate bowls and ensure there is a bowl of flour for each bowl of ice cream.
- Pour one of the bowls of flour into one of the bowls of ice cream and keep folding and stirring until it forms a cake-like batter. The more melted the ice cream is, the easier this will be.
- Pour the second bowl of flour into the other bowl of ice cream and repeat.
- Once you have two bowls that have a cake like consistency, start layering them up to form a marble effect. For the loaf I did one scoop of the vanilla batter, then a coffee scoop alongside it, then vanilla, then coffee. Then I went over the top and alternated so there was a layer of coffee on top of the vanilla etc. For the muffins, I filled the cases with the coffee batter first then put a layer of vanilla on top.
- To get a marble effect over the top of the cake, drag a skewer or knife along the top.
- Bake for 15-20 minutes.
M&M fudge
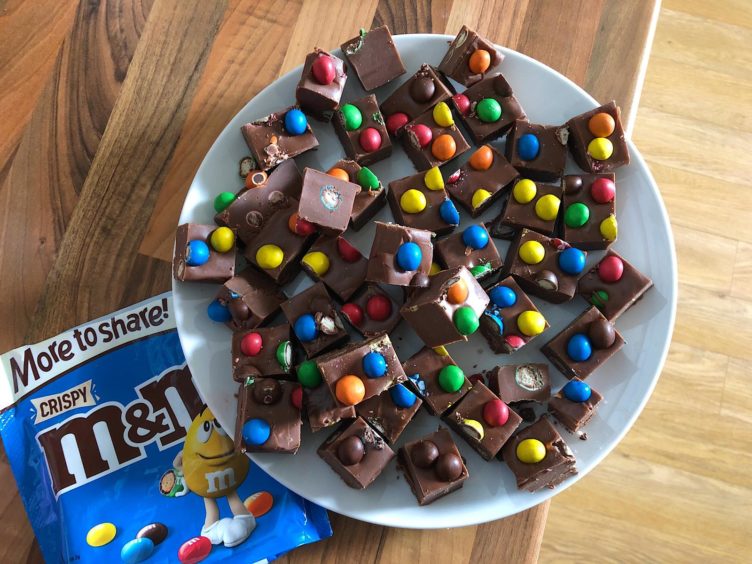
Not a cake as such, but this three-ingredient bake is ridiculously simple and will take less than 10 minutes to whip up leaving you with plenty of time to eat it.
Food and drink writer Julia Bryce set out to achieve the yummiest fudge she could possibly make with this recipe back in May and it hasn’t let us down yet.
Ingredients
- 450g milk chocolate
- 1 tin (397g) of sweetened condensed milk
- 1 share bag (246g) of crispy M&Ms
Method
- Put the chocolate and the sweetened condensed milk in a large microwaveable bowl. Heat in the microwave on high for around five minutes. Remove the bowl every minute and stir together.
- Pour half of the warm fudge mixture into a square tin (or ceramic serving dish in my case) which has been lined with baking parchment. Grab your crispy M&Ms and scatter around half of them across the mixture.
- Pour the remainder of the fudge mixture on top and scatter the remaining M&M’s on top to decorate it. (I picked out some of the brown ones as I wanted it to look as colourful as possible).
- Leave at the side for around an hour. Put in the fridge to cool and set.


