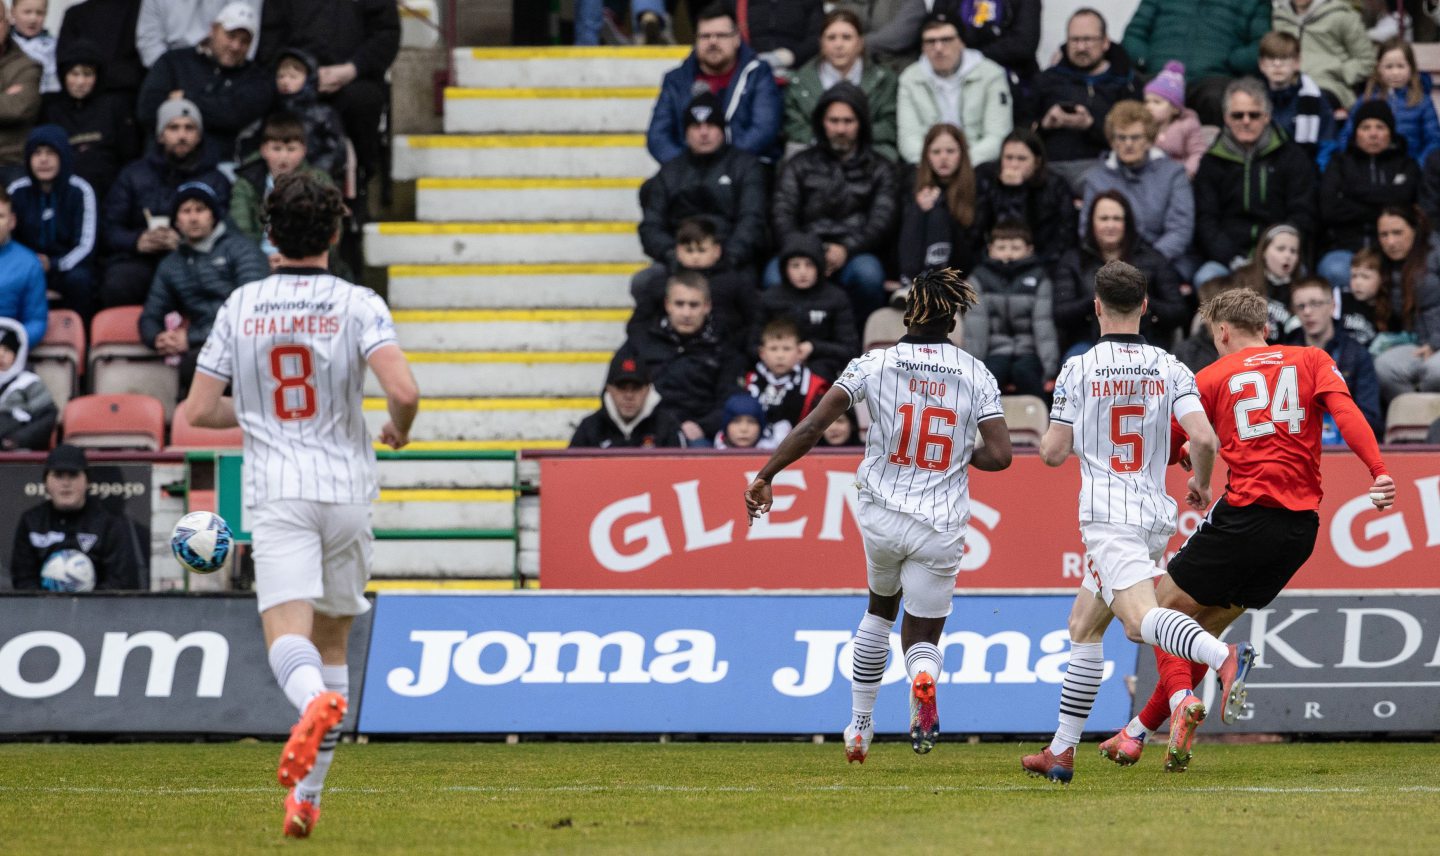
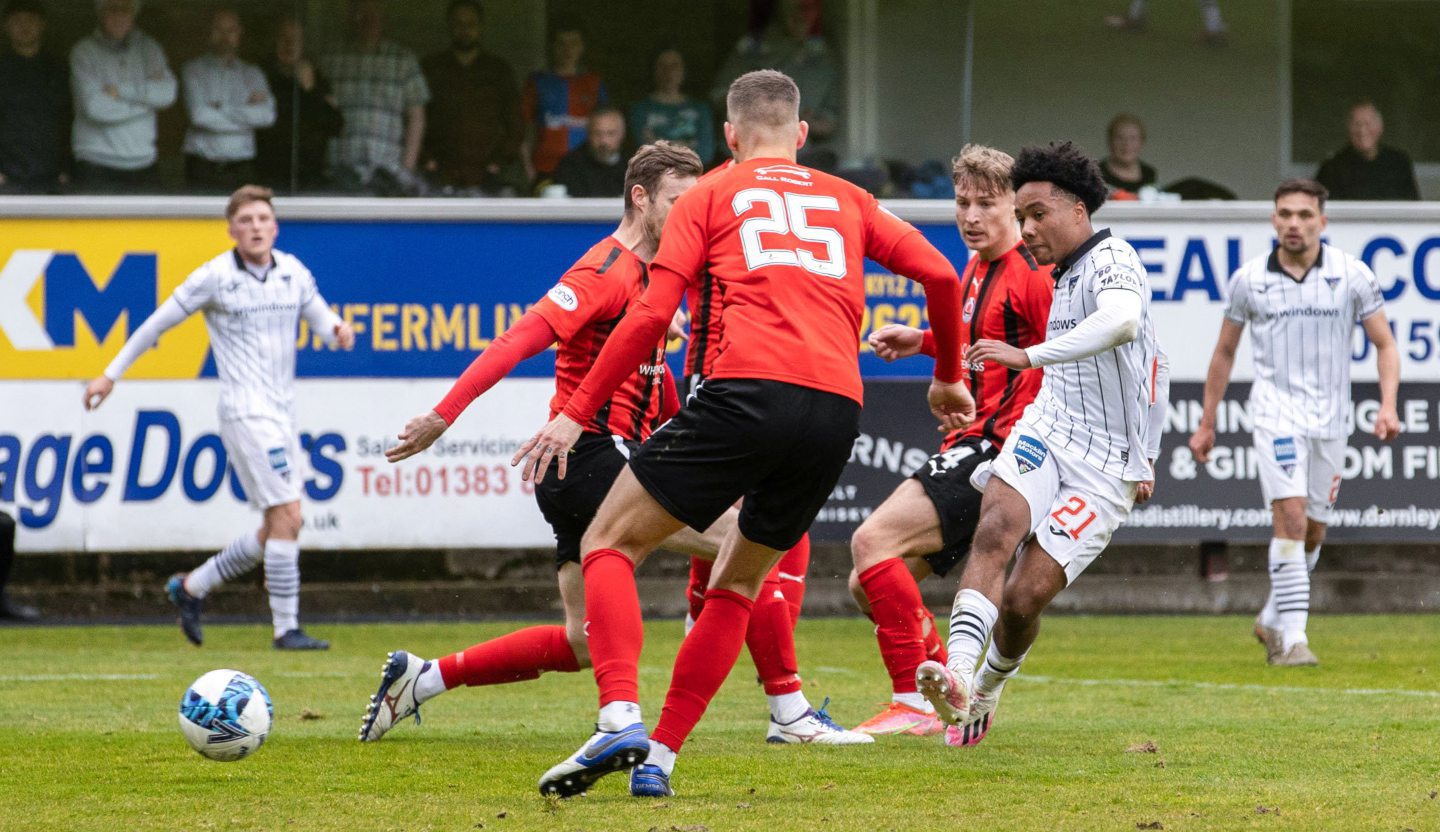
Dunfermline lifted the League One trophy after a superb last-minute strike from Lewis McCann secured a 2-1 over Clyde.
The second-half substitute fired in from the edge of the box just as the Bully Wee were on course for their second draw at KDM Group East End Park this season.
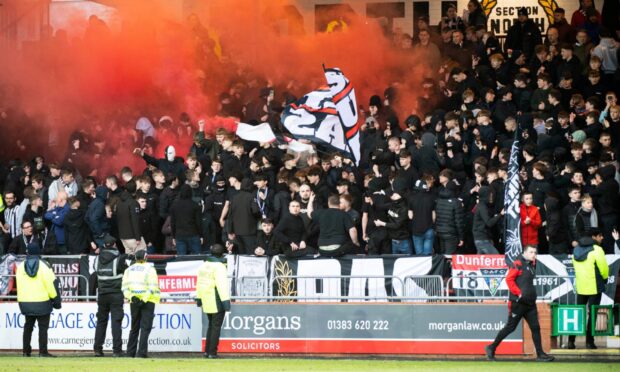
It lifted the 6,000-plus crowd just ahead of Dunfermline’s trophy presentation.
— Craig Cairns (@craigcairns001) April 29, 2023
Matty Todd and Kyle Benedictus were both missing but collected awards ahead of kick-off, picking up young player and player of the year, respectively, in a vote by the fans.
Cameron Salkeld gave Clyde the lead on the 12th minute and Kane Ritchie-Hosler levelled just before half-time before McCann’s winner.
Dunfermline dominated the second half and scored a later winner before lifting the League One trophy.
Key moments
Dunfermline controlled the early parts of the game but the closest they came was when Paul McGowan spurned a good opportunity to slide in Craig Wighton.
The first shot on target came at the other end when Salkeld finished beautifully across Deniz Mehmet.
James McPake’s side carved out some great passages of pay but with no cutting edge in the opposition penalty area.
Chris Mochrie had a goal-bound effort blocked and Paul Allan went close at the back post from a deflected Josh Edwards cross, but Clyde threatened against when Salkeld was sent through on goal.
He was closed down by Ewan Otoo and then failed to lift his shot over Mehmet.
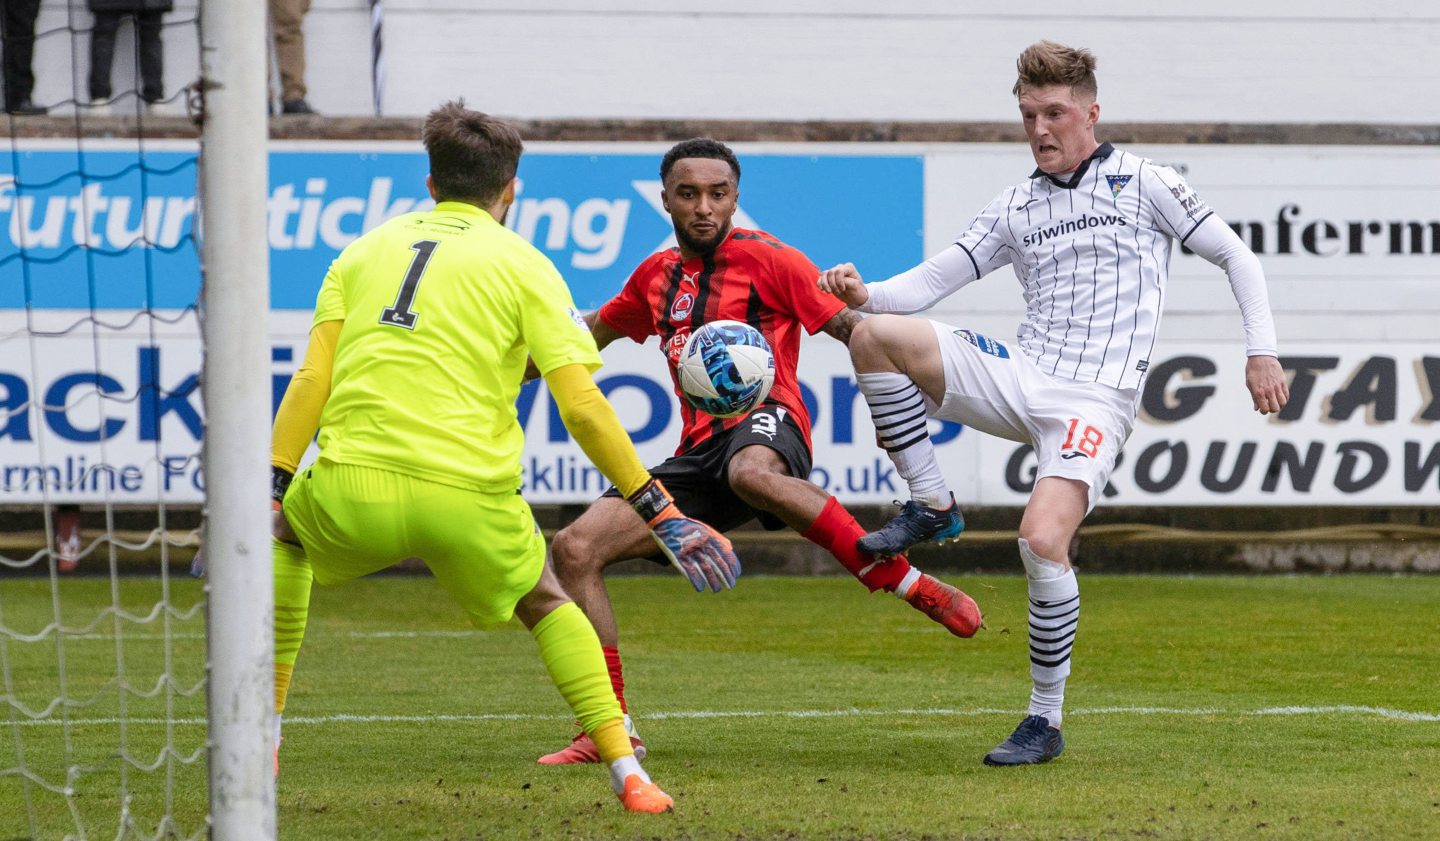
Just as it looked like the visitors would preserve their lead until the break, Ritchie-Hosler intercepted the ball at the edge of the penalty and player a one-two with Craig Wighton before finishing into the far bottom corner.
The second half continued the theme of the first half, the Pars continued to create, though didn’t work goalkeeper Ryan Mullen, before Jon Craig was presented with a decent chance to put Clyde back in front, but he fired over.
Soon after Liam Scullion had the ball in the back of the net but it was ruled out for offside.
Kyle Doherty then almost took advantage of some risky goalkeeping, but his block of Mehmet’s clearance looped over the bar.
McPake made five substitutions in the second half and the rest of the game panned out similarly to the opening 45 minutes, complete with a late goal.
Player ratings
Dunfermline (3-4-2-1): Mehmet 6; Comrie 7, Hamilton 7, Otoo 7; Ritchie-Hosler 8, Allan 6 (Todorov 6), Chalmers 7, Edwards 7 (Fenton 6); Mochrie 6 (Macdonald 6), McGowan 7 (McCann 7); Wighton 6 (Mahon 6). Subs not used: Little.
Star man
Not only did he get them back on level terms, Ritchie-Hosler had the beating of Rico Quintongo for most of the afternoon – and later when Craig dropped into left-back – and one again sent in a number of dangerous crosses.
He started at right-wingback, moved to right wing and finished the game in the centre of the park.
Manager under the microscope
With Benedictus suspended, Chris Hamilton dropped into the middle of the back three and took the captain’s armband.
It meant a back three with no natural central defenders.
McPake’s formation was always flexible, switching to a back four a few times during the game.
Edwards and Comrie would take turns to push forward and Otoo overlapped from centre-back a number of times.
The five second-half changes added to what the Pars were doing well but, crucially, they couldn’t find a breakthrough.

Conversation